




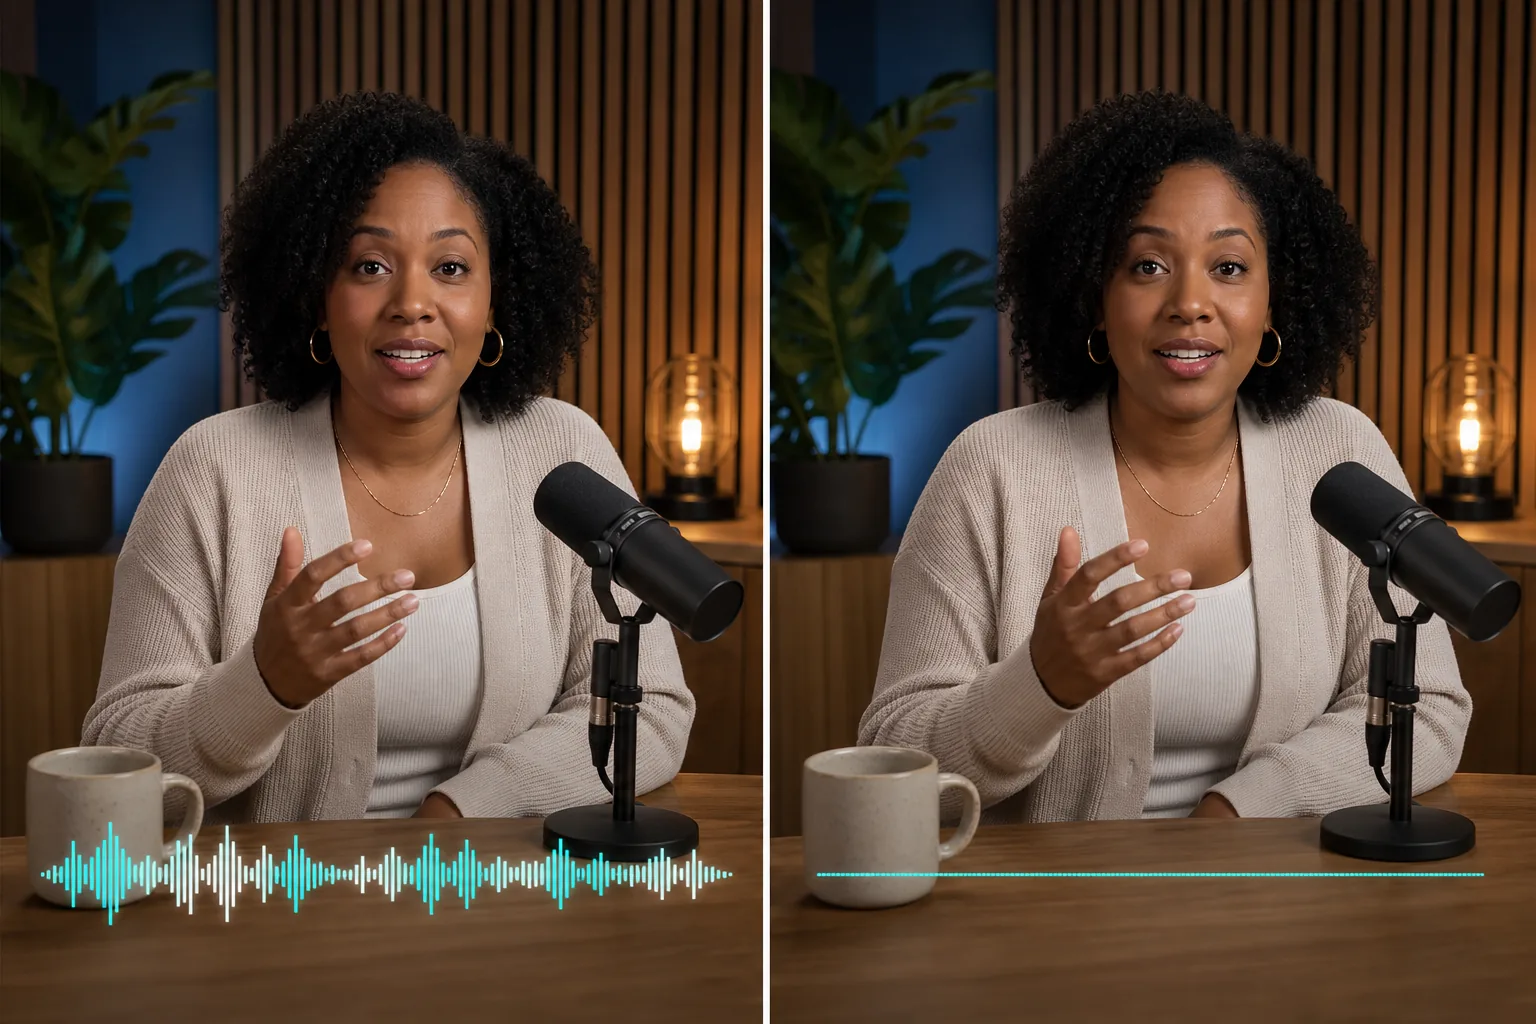
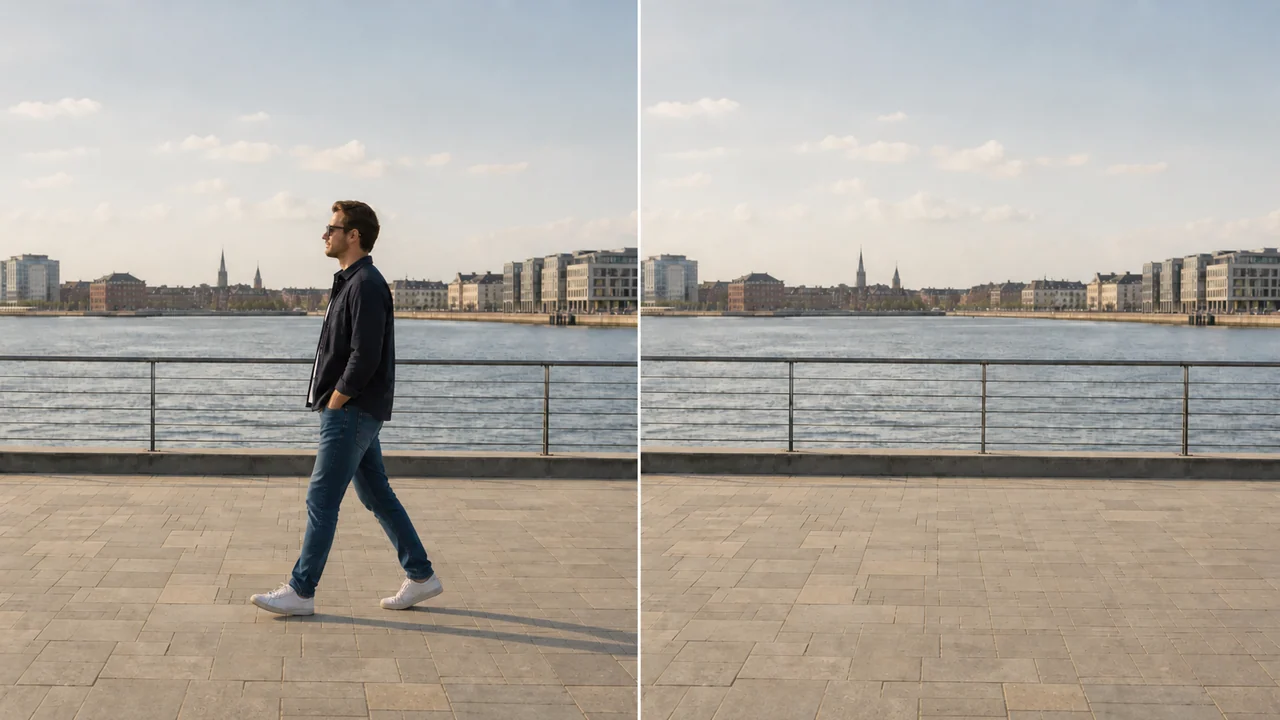
Video Quality Enhancer for Clearer Motion and Detail

Use a video quality enhancer to test a representative clip, compare motion and fine detail, and choose a cleaner export without hiding the limits of the source.

BeforeAfter
Mode
Verified output
Upload a video to see its verified output options.

Explore the toolkit

All Tools

Jump straight into a focused workspace for removing distractions, replacing backgrounds, or improving video quality.

Evaluate a Video Quality Enhancer in Real Editing Situations

Use revealing footage, compare the same moments, and judge whether the processed result actually helps the delivery format you have planned.

Before
After

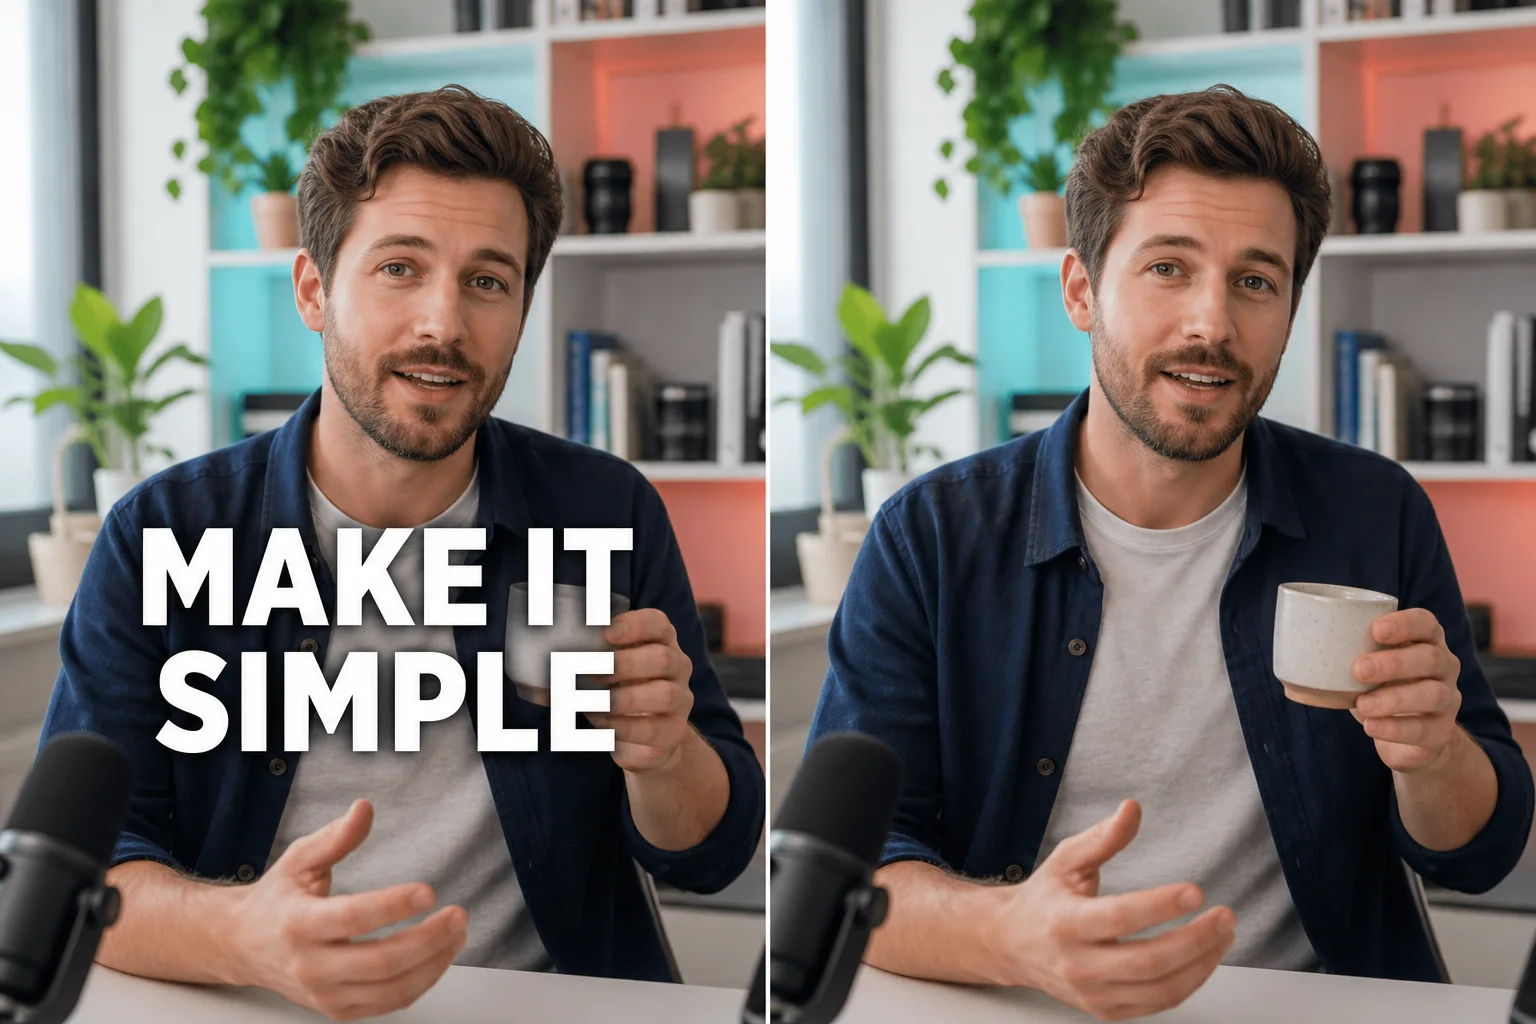
Check Small Interface Text Before Publishing a Tutorial

Screen recordings and software lessons often contain labels that become soft after capture, resizing, or platform compression. A video quality enhancer can make a working copy easier to inspect, but the useful test is whether menus, cursors, and captions remain legible during playback. Compare the same frame at equal display size, then confirm that the video still looks natural when text moves or a window scrolls.

Before
After

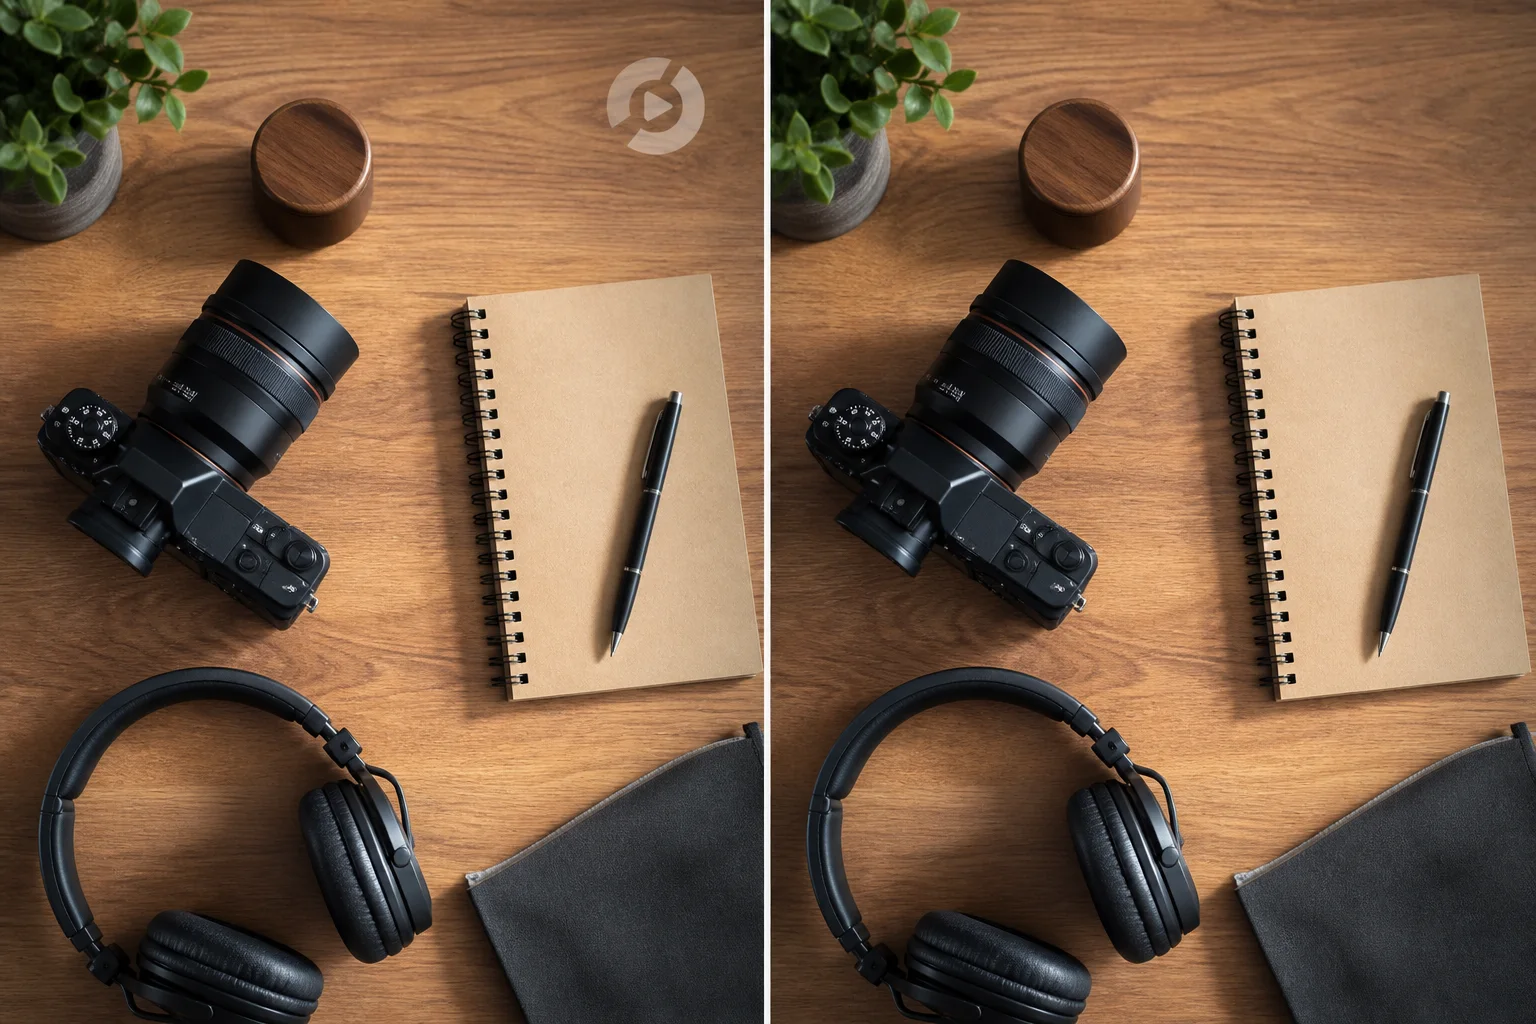
Separate Useful Detail From Noise in Difficult Footage

Handheld movement, low light, and compressed shadows can make a still comparison look more convincing than the full sequence. Test the video quality enhancer on a section that includes camera shake, subject movement, and changing texture. Play the result at normal speed to find crawling grain, doubled contours, or detail that appears for one frame and vanishes in the next video frame.

Before
After

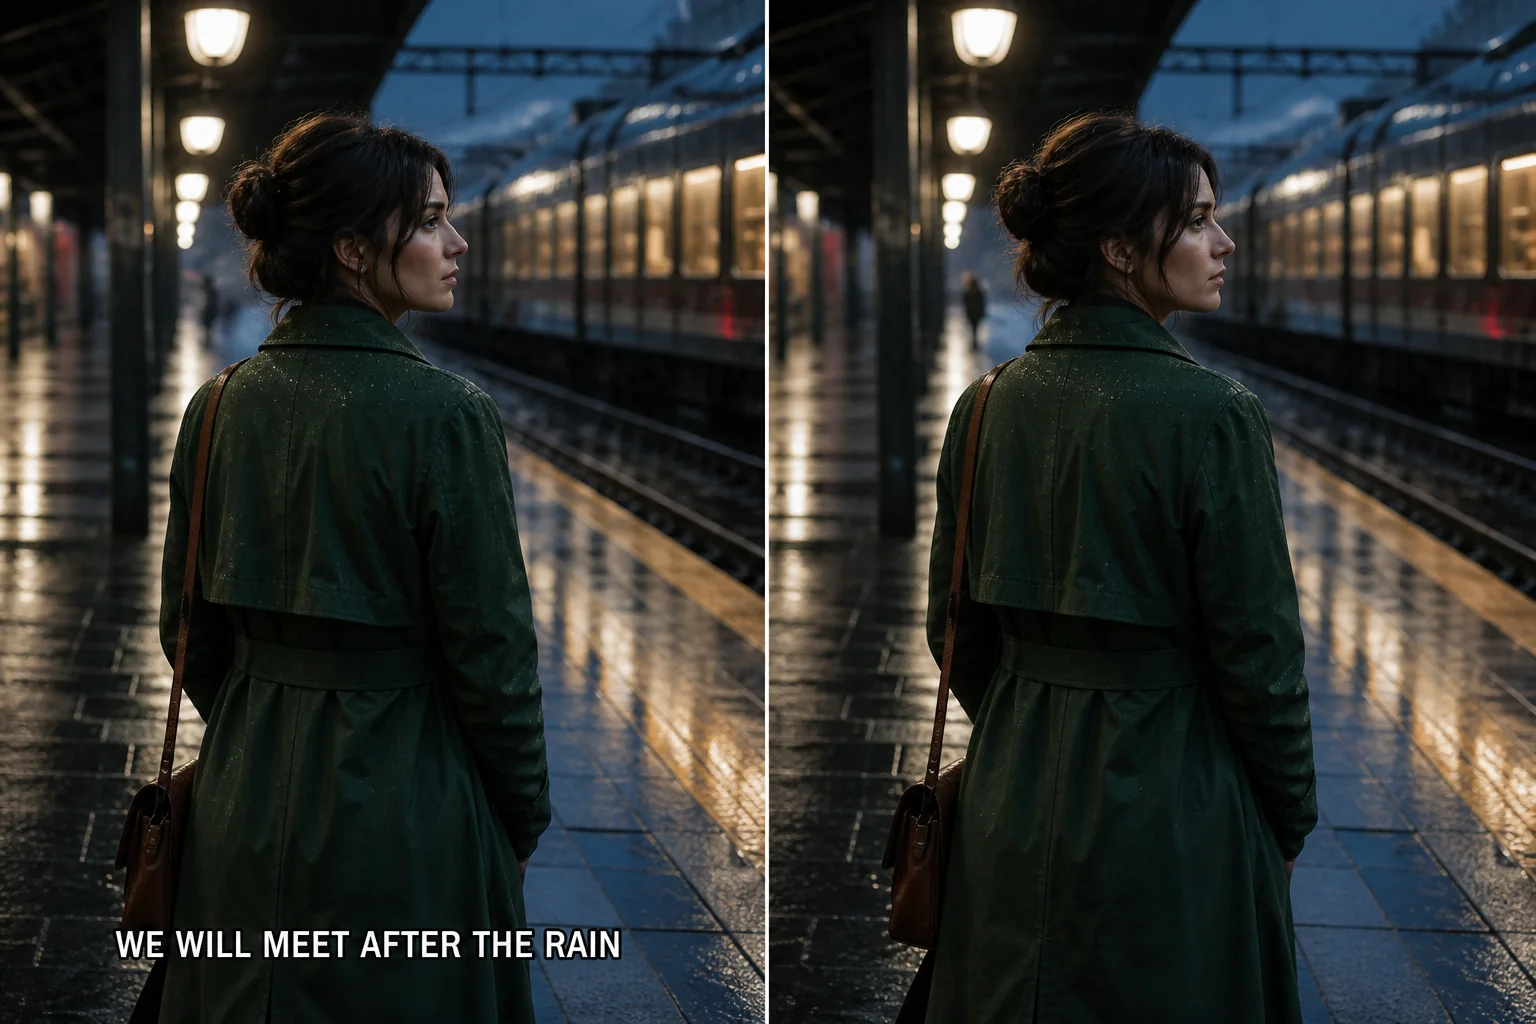
Prepare a Stable Master for the Next Editing Timeline

An enhanced file may become the source for captions, reframing, color work, and several platform exports. Run the video quality enhancer before those finishing steps, then check the processed video for consistent faces, edges, audio, aspect ratio, and duration. Keeping the original beside the reviewed master gives the next editor a clear reference instead of forcing every later export to inherit an unnoticed processing flaw.

What to Measure Around a Video Quality Enhancer

A useful enhancement decision comes from representative footage, matched comparisons, and a delivery check—not from judging one enlarged thumbnail.

Test a Representative Segment

Choose a short video section containing the smallest important detail, typical motion, dark areas, and at least one hard transition. A revealing sample lets you evaluate the video quality enhancer before spending time on a long export that may repeat the same weakness.

Watch Stability Across Frames

Fine texture should not pulse, crawl, or change identity as the camera moves. Review the video at normal speed and frame by frame, paying special attention to hair, fabric, foliage, subtitles, and diagonal edges where inconsistent enhancement is easiest to notice.

Avoid False Texture and Harsh Sharpening

A video quality enhancer may produce a crisper impression without recovering information that was never captured. Compare skin, lettering, grain, and repeated patterns for halos or invented marks. Prefer a stable, believable improvement over an aggressive video result that only looks sharp while paused.

Choose Output Size With a Purpose

Select 2x or 4x because the next layout, crop, or platform needs those pixels—not because the largest file is automatically better. Match the enhanced video to the actual delivery dimensions and remember that a larger frame also increases storage, transfer time, and later encoding work.

Verify the Whole Media File

Check more than picture detail. Confirm that the processed video preserves expected duration, frame shape, playback speed, and audio behavior. Reopen the downloaded file in a normal player before it becomes the source for another edit or archive.

Keep Rights and Privacy in Scope

Process a recording only when you may upload, transform, and store its people, locations, client material, and licensed elements. A technical video quality improvement does not change ownership, release requirements, confidentiality terms, or the need to keep a sensitive source out of an unapproved workflow.

Four controlled passes

How to Test a Video Quality Enhancer

Prepare the source, select a mode, process a revealing sample, and compare the downloaded result under the same viewing conditions.

1

Prepare the Clearest Source

Start with the earliest practical video file rather than a social download or repeatedly encoded copy. Play it completely, note existing blur and compression, and select a representative section that contains the details your audience must be able to read or recognize.

2

Choose Lite or Ultra and an Output Size

Use Free Lite for an eligible no-login test, or choose Ultra when its account and credit requirements fit the project. Select 2x or 4x according to the intended video dimensions, crop, and downstream edit rather than choosing the biggest option by default.

3

Process the Revealing Sample

Upload the test section and let the video quality enhancer finish without replacing the source file. Record the chosen mode and scale so another reviewer can reproduce the comparison and understand which processing decisions produced the candidate master.

4

Compare Equally Before Downloading

View source and result at equal on-screen size, then zoom only to diagnose a specific edge or texture. Watch the full video at normal speed, verify audio and duration, and download the processed file only when its improvement remains stable beyond a flattering still frame.

Video Quality Enhancer Questions for a Reliable Review

Use these answers to select a mode, interpret the comparison, and protect quality through the next edit.

Test the Video Quality Enhancer on a Revealing Clip

Choose a short section with meaningful motion and detail, compare it under matched conditions, and keep the processed video only when the improvement remains stable through playback.