




Remove Object From Video With a Focused Repair Mask

Remove object from video with a free preview and no login: upload an authorized clip, paint the unwanted region, and judge the reconstructed area through real motion before export.

Drag and drop a video here, or choose a file to open the editor.

MP4MOVAVIMKVWEBM

Maximum file size: 100MB

Illustrative Object Removal Checks for Three Video Scenes

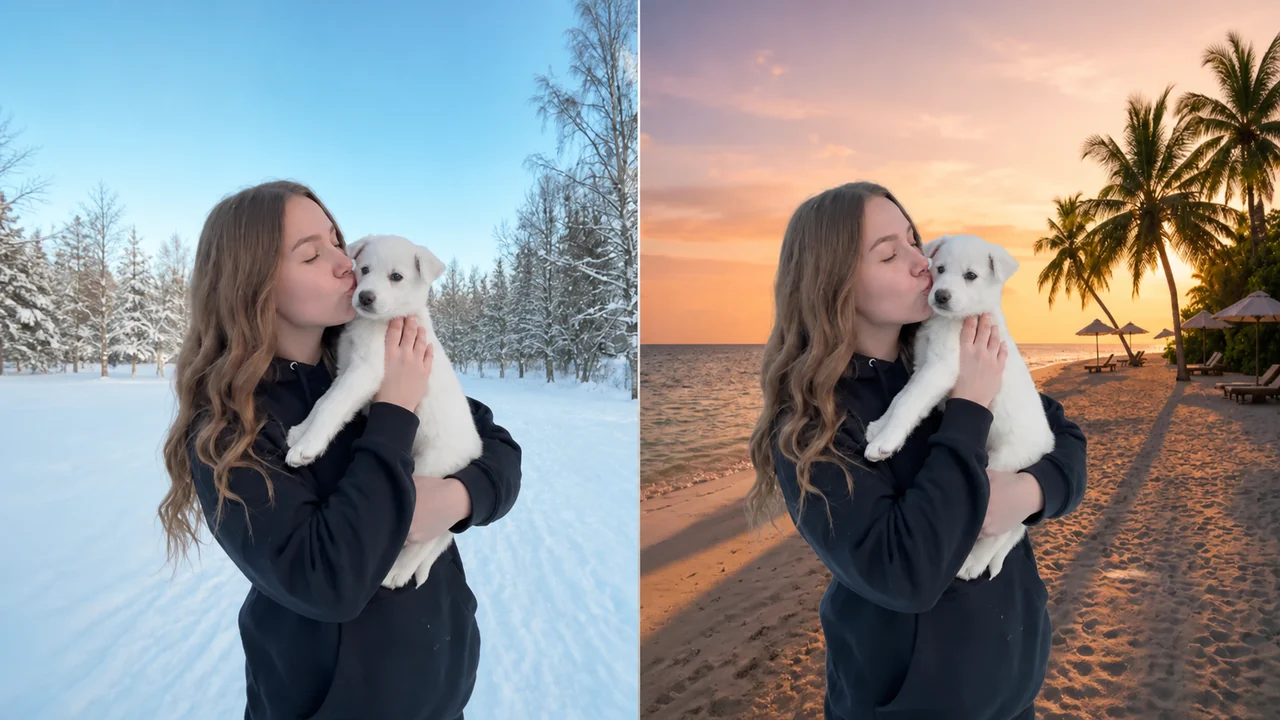
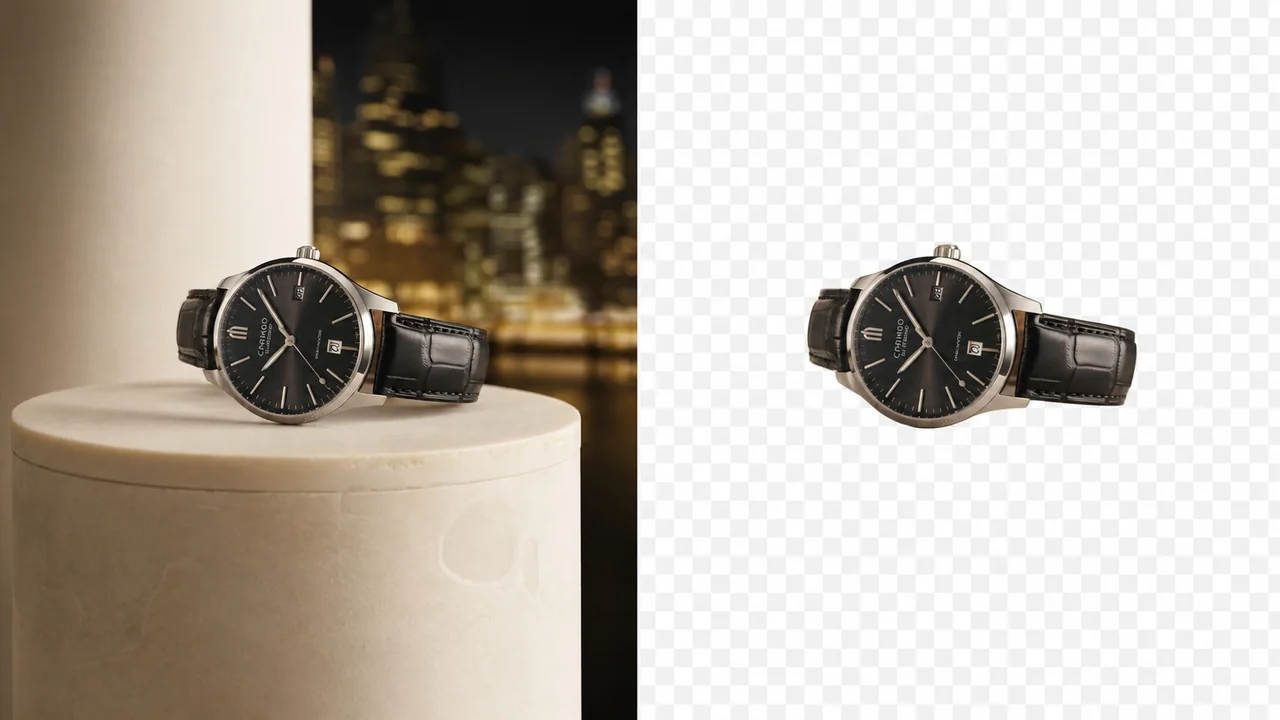
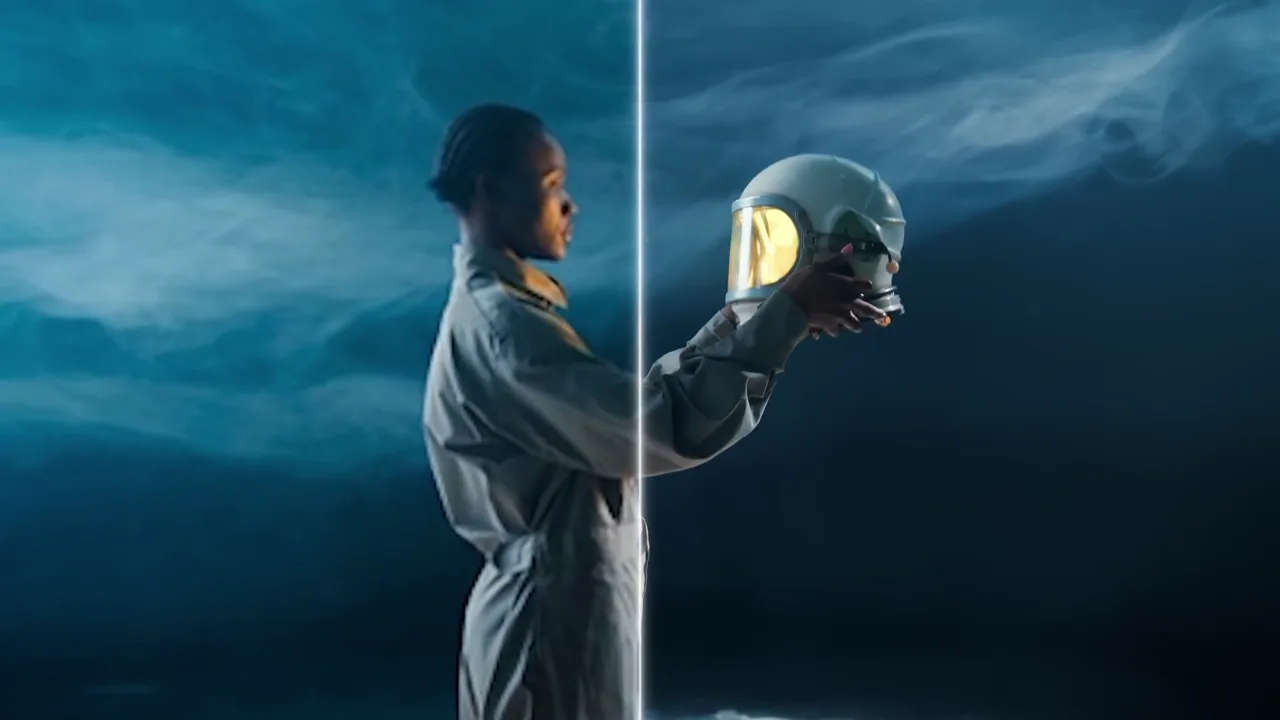
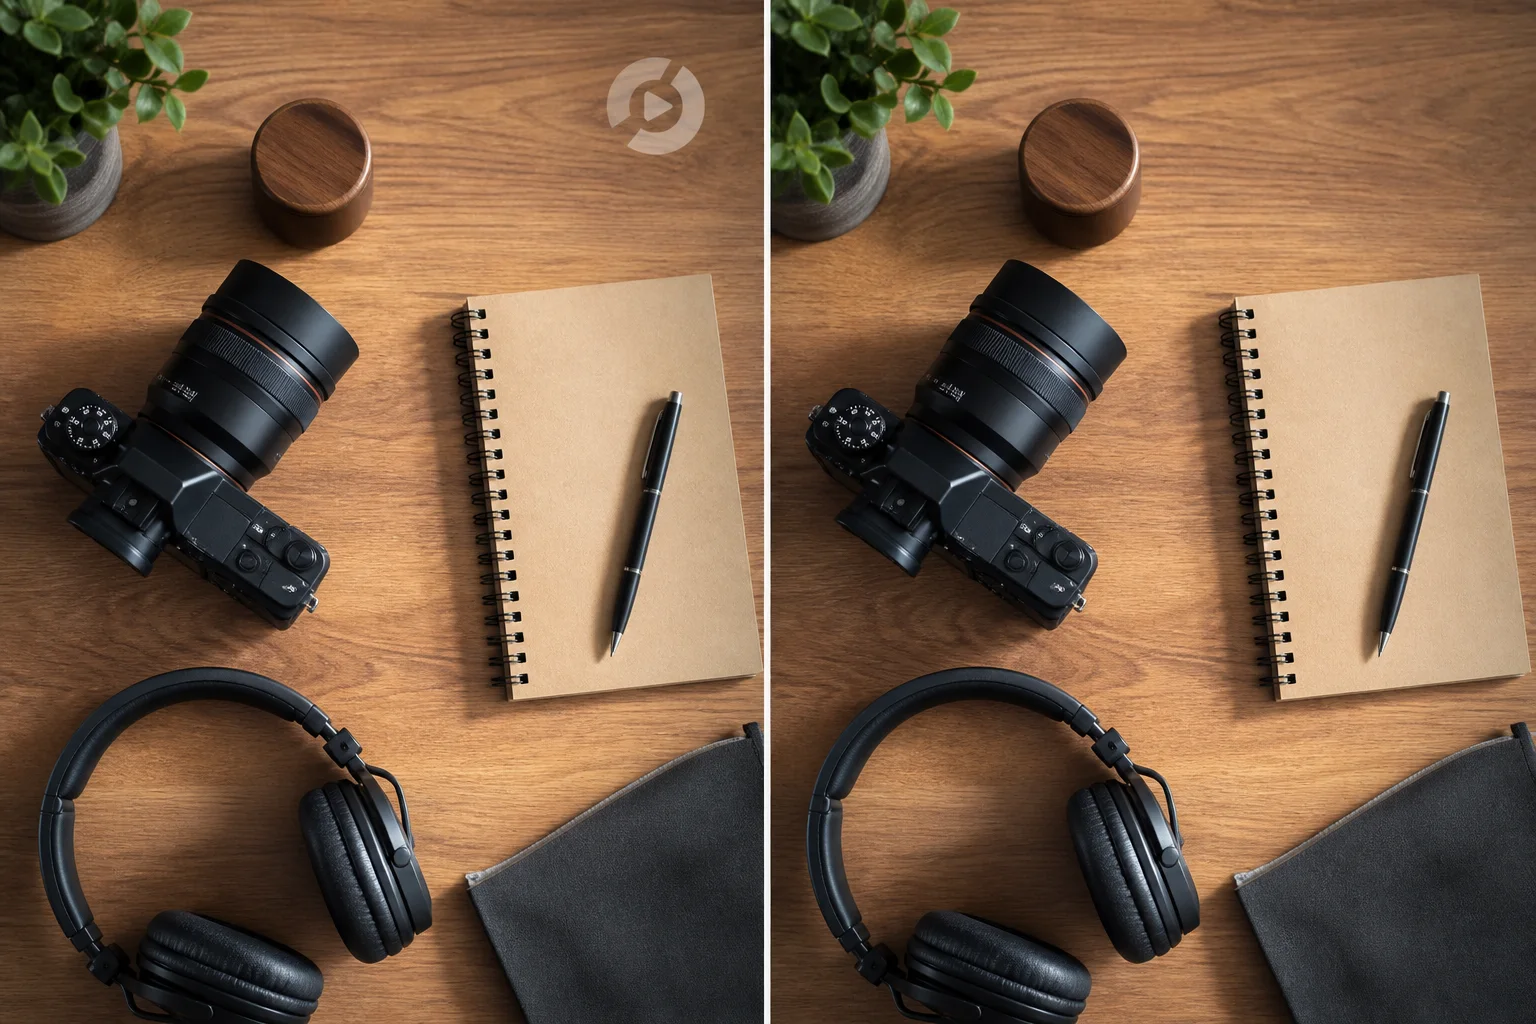
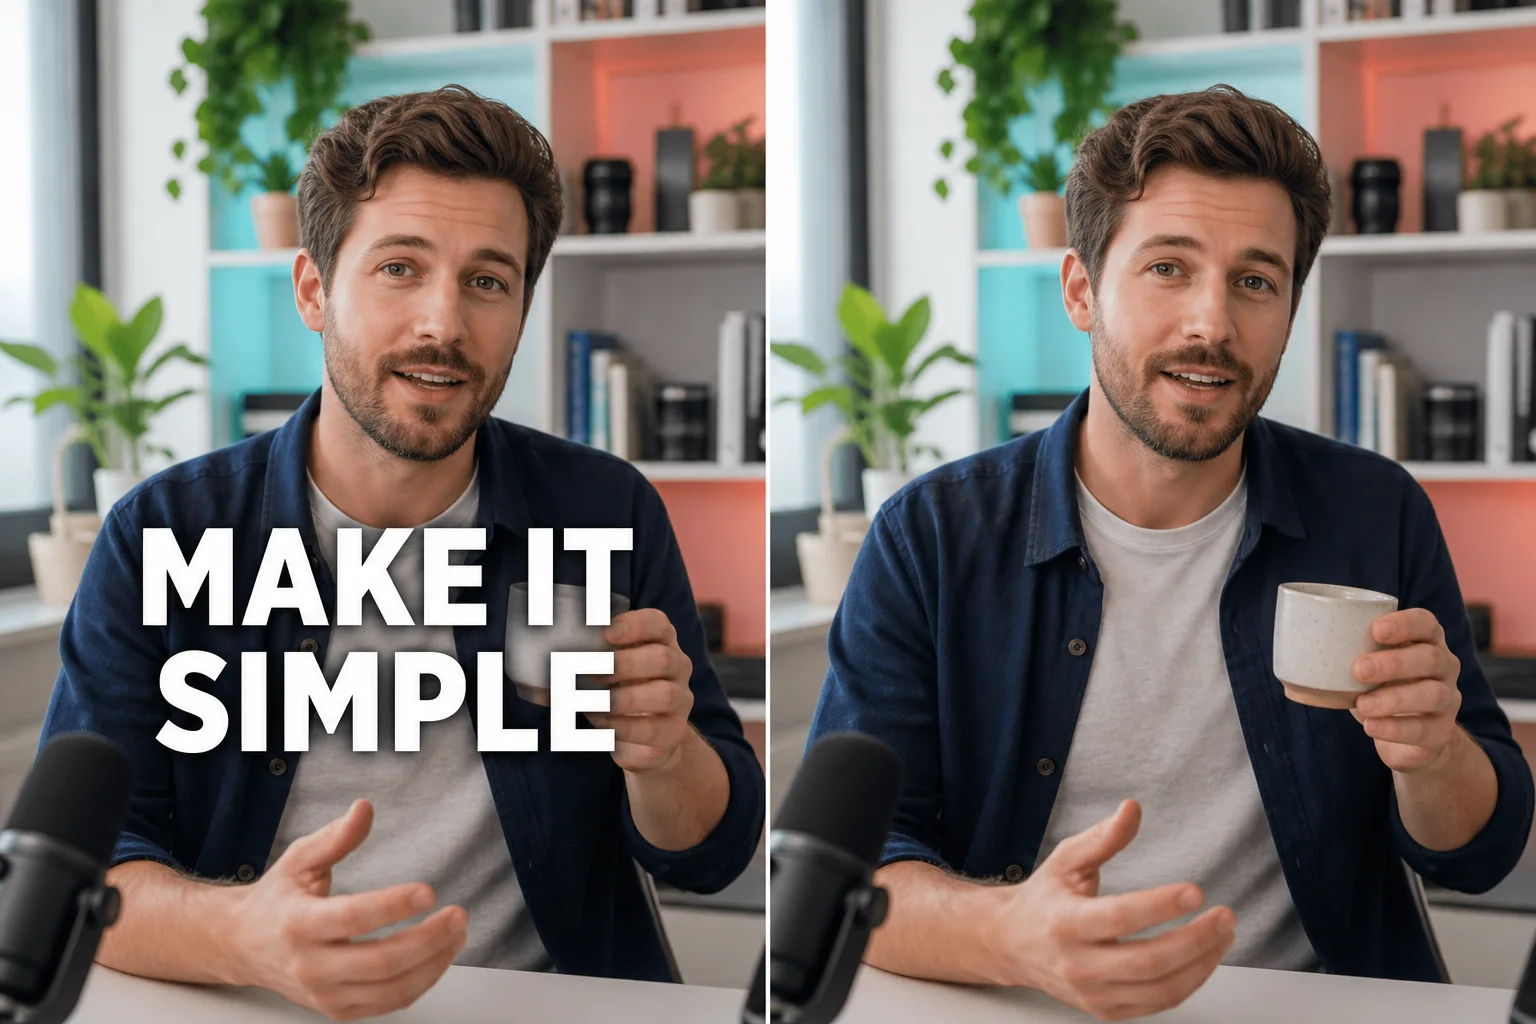
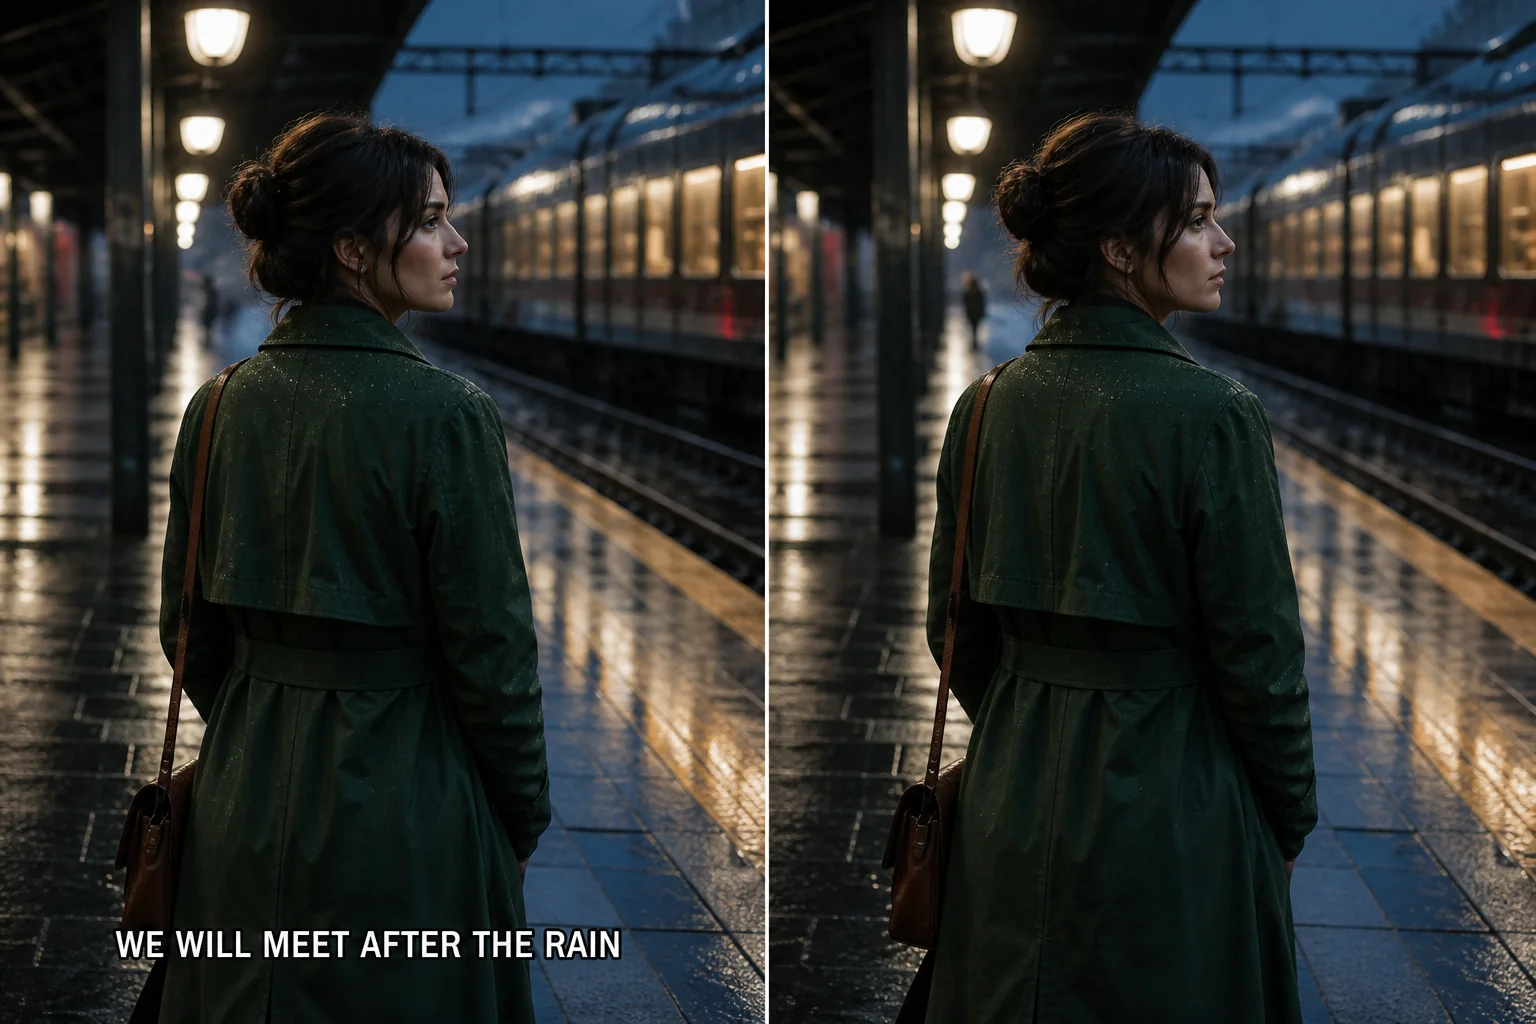
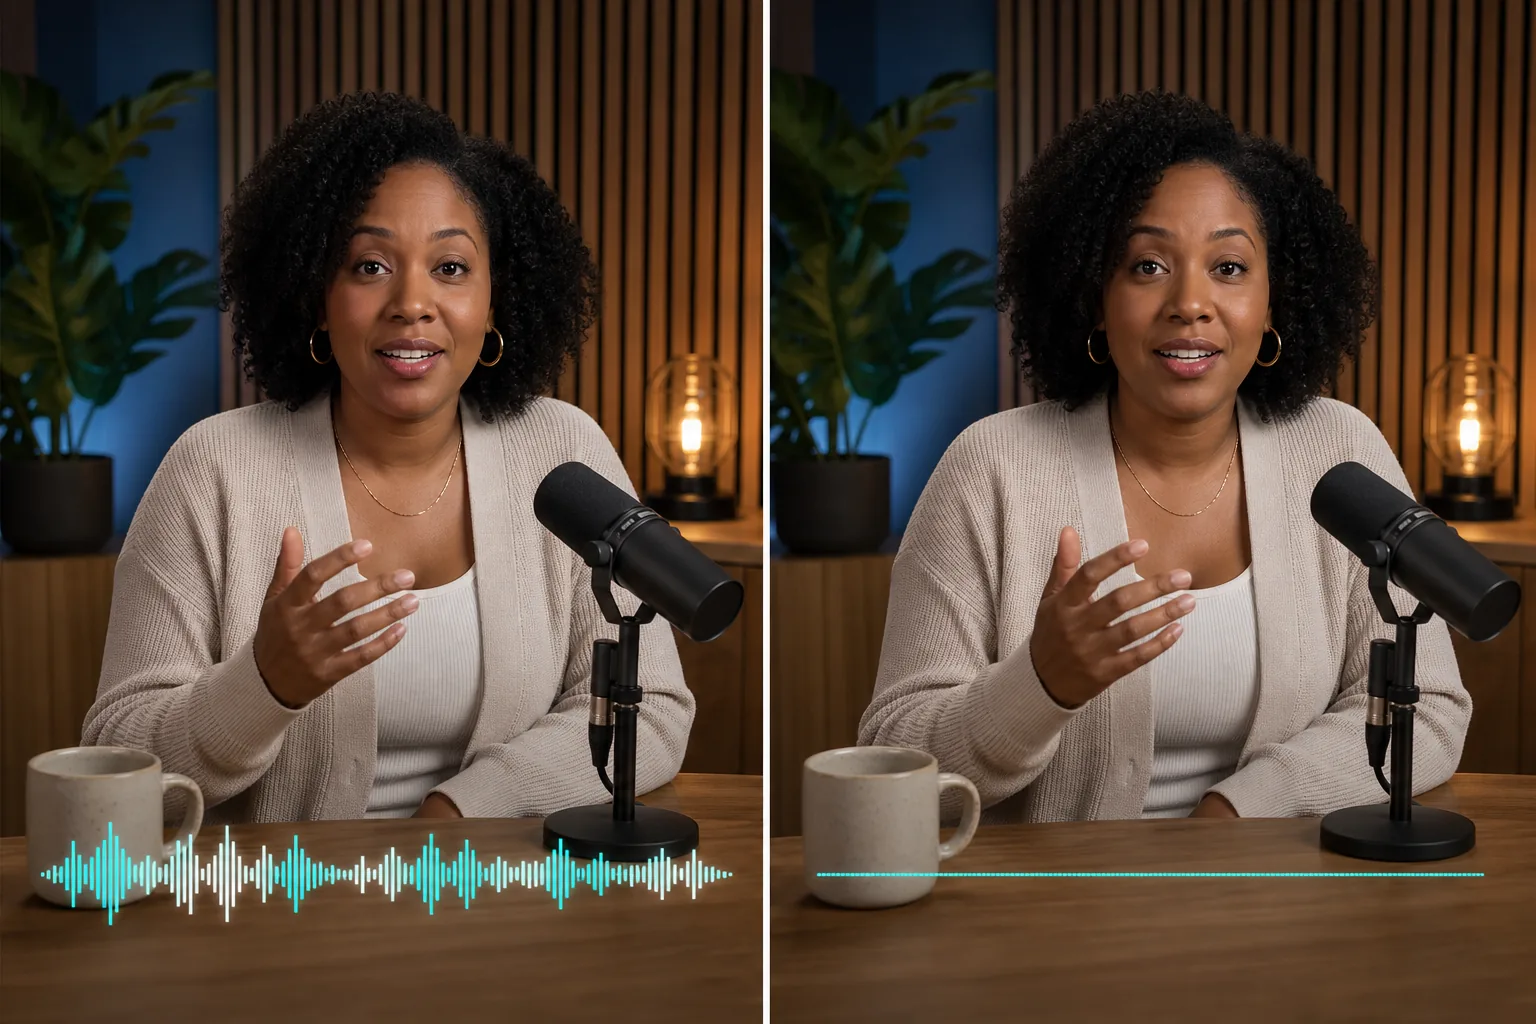
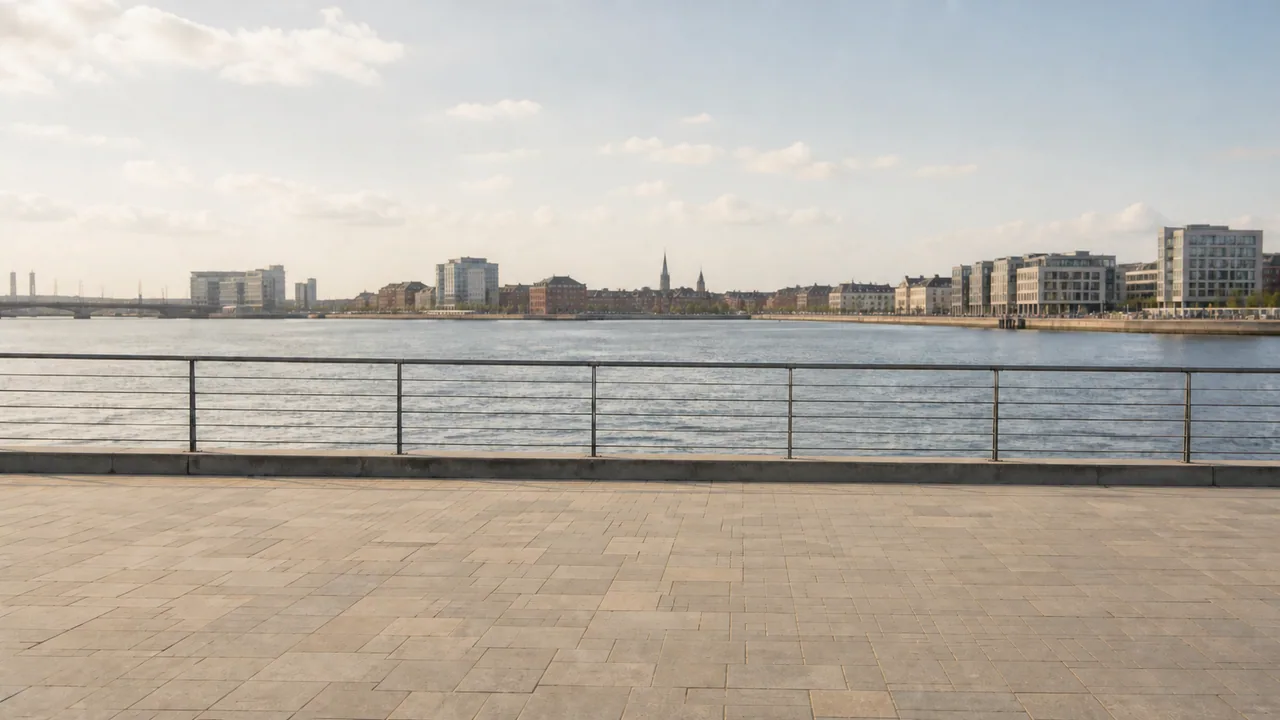
These generated frame pairs illustrate the areas to inspect; they are workflow examples, not guaranteed tool outputs. Judge your own result across consecutive frames, not from one still image.

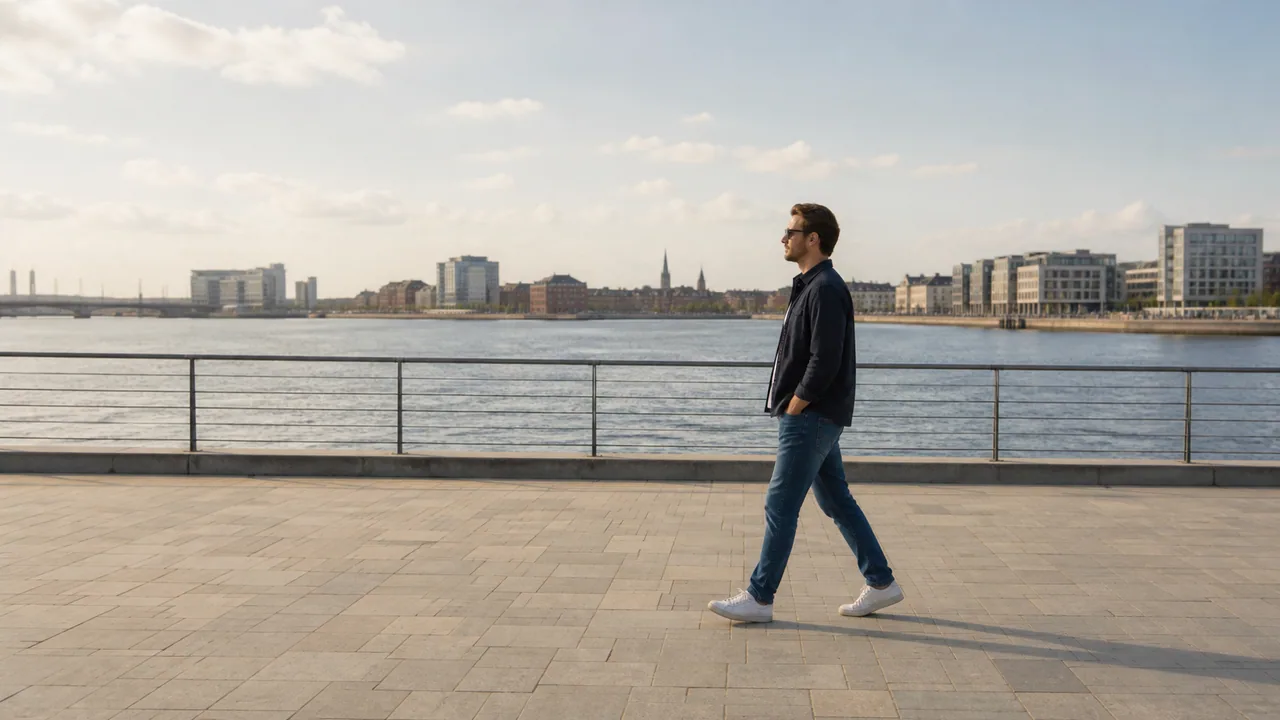
Review a Person Removed From a Stable Outdoor Shot - After
Review a Person Removed From a Stable Outdoor Shot - Before
Before
After

Review a Person Removed From a Stable Outdoor Shot

A locked camera and repeating paving make a useful first test because changes in the repaired region are easy to spot. To remove object from video footage like an accidental pedestrian, paint the person and visible shadow without extending the mask across the whole frame. Then play the video at normal speed and check railing lines, ground texture, and changing reflections where the subject previously crossed.

Clear a Stand or Prop Without Reframing the Product - After
Clear a Stand or Prop Without Reframing the Product - Before
Before
After

Clear a Stand or Prop Without Reframing the Product

A forgotten light stand, cable, or temporary prop can distract from an otherwise usable product take. A focused video object remover workflow preserves the original composition while reconstructing only the painted area. Compare the tabletop grain, backdrop falloff, product shadows, and frame edges before approving the repair. If the object overlaps the product, expect a harder result and test the most detailed overlap first.

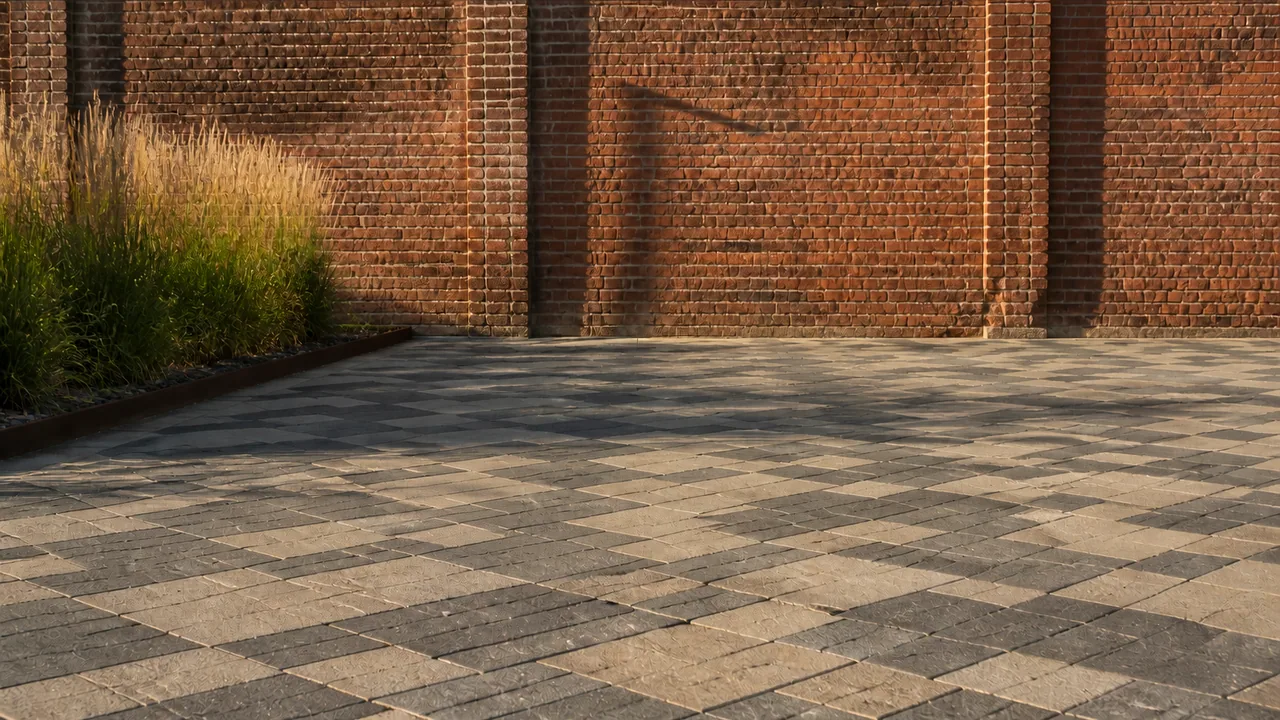
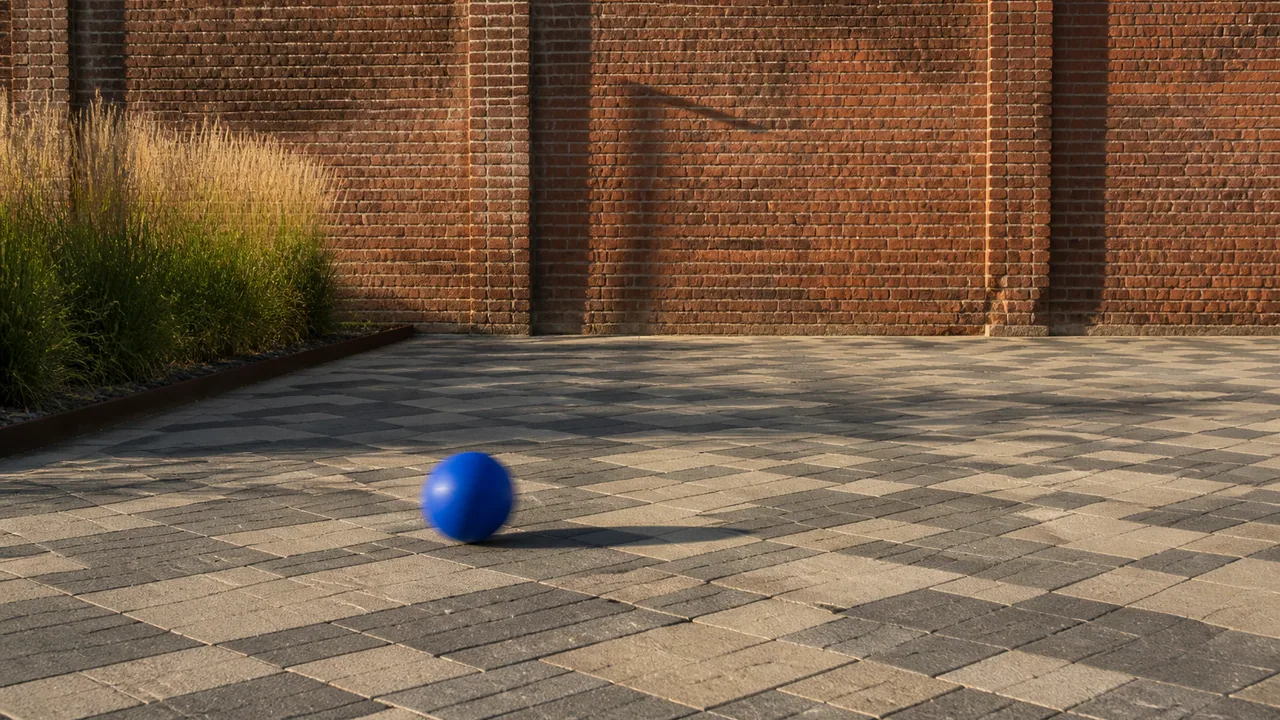
Stress-Test a Moving Distraction Across Detailed Texture - After
Stress-Test a Moving Distraction Across Detailed Texture - Before
Before
After

Stress-Test a Moving Distraction Across Detailed Texture

A moving ball, bag, vehicle, or foreground item occupies different pixels over time. Before you remove object from video at full length, choose a preview that contains the entire visible path and the hardest background. Manual Paint does not promise semantic tracking, so a moving object may need a wider planned mask. Watch for duplicated tiles, drifting shadows, blur trails, and texture that freezes while the rest of the video moves.

Controls for a Careful Video Object Remover Workflow

A believable repair starts with a precise mask, a revealing test segment, and a complete motion review rather than an automatic promise about every object or scene.

Paint the Object With Direct Control

Manual Paint is the primary option for an arbitrary object. Use the brush or rectangle to cover the unwanted subject while protecting nearby faces, hands, product edges, reflections, and lettering. Include connected shadows or motion blur only when they should also disappear. A smaller accurate region gives the repair more surrounding video evidence and reduces unrelated changes.

Plan for the Complete Motion Path

The mask is not a promise of automatic object tracking. If the subject moves, scrub through the source and note its widest path, changing size, and moments of partial occlusion. A broad path can remove more real detail, so test the most difficult interval first. Split the edit in another video editor when separate shots need different regions.

Use Auto Remove Only for Supported Overlays

The shared workspace keeps Auto Remove because it is useful for supported watermarks, logos, captions, and text. It should not be treated as universal object recognition. For a person, prop, cable, ball, vehicle, or other scene element, begin with Manual Paint and assess the selected region instead of assuming the automatic mode understands the object.

Judge Consistency Across Frames

A clean paused frame can hide a distracting video result. Play the preview at normal speed, then revisit cuts, camera moves, lighting changes, reflections, and foreground crossings. Watch for shimmer, repeated patterns, frozen patches, softened edges, or color that lags behind the scene. Keep the candidate whose reconstruction attracts the least attention during motion.

Protect Source Quality and Audio

Start with the earliest clear copy available. Heavy compression, low resolution, blur, clipped highlights, and repeated exports reduce the context needed to rebuild a painted region. Verify duration, frame rate, orientation, and audio before processing. Keep the original video beside each candidate so you can compare matched timestamps and avoid repairing an already degraded export.

Keep Rights, Consent, and Privacy Attached

Only remove subjects or props from footage you own or are authorized to edit. Removing a person does not erase privacy obligations, releases, editorial context, or contractual limits. Do not upload confidential footage when client terms prohibit processing. Retain approval records and review the final narrative so the edited video does not misrepresent an event or person.

Four-stage repair review

How to Remove Object From Video With a Focused Mask

Prepare the clearest source, mark the intended region, test a demanding segment, and approve the complete video only after the repair remains stable through playback.

1

Upload an Authorized Source Video

Choose a supported file that plays correctly and contains the complete unwanted subject. Use the least-compressed source available, confirm audio and orientation, and keep a protected original. Select a section where the object crosses meaningful texture or motion rather than choosing an easy frame that hides the real repair challenge.

2

Choose Manual Paint and Mark the Region

Paint the object, relevant shadow, and necessary motion-blur edge without covering unrelated subjects. Scrub through the clip to understand the full path before finalizing the mask. Use Auto Remove only when the target is a supported overlay; it is not an arbitrary object detector or semantic tracker.

3

Process and Compare a Representative Preview

Run the free no-login preview on the hardest useful interval. Compare source and result at the same size, playback speed, and timestamp. Examine boundaries, repeating patterns, reflections, faces, camera movement, and cuts. Refine the mask or choose a different source when the reconstructed area becomes more noticeable than the original distraction.

4

Review the Full Result Before Download

Continue to the signed-in full-video workflow only when the preview meets your quality bar and the displayed limits fit the file. Reopen the finished export, verify duration and audio synchronization, and watch it from beginning to end. Keep the source until the repaired video passes editorial, technical, consent, and rights review.

Remove Object From Video Questions Before Export

Use these answers to plan the mask, choose a revealing preview, and decide whether the reconstructed motion is suitable for your authorized edit.

Remove Object From Video With a Revealing Preview

Choose the hardest authorized segment, paint only the unwanted subject and necessary path, and keep the result only after the reconstructed region stays believable through motion.