


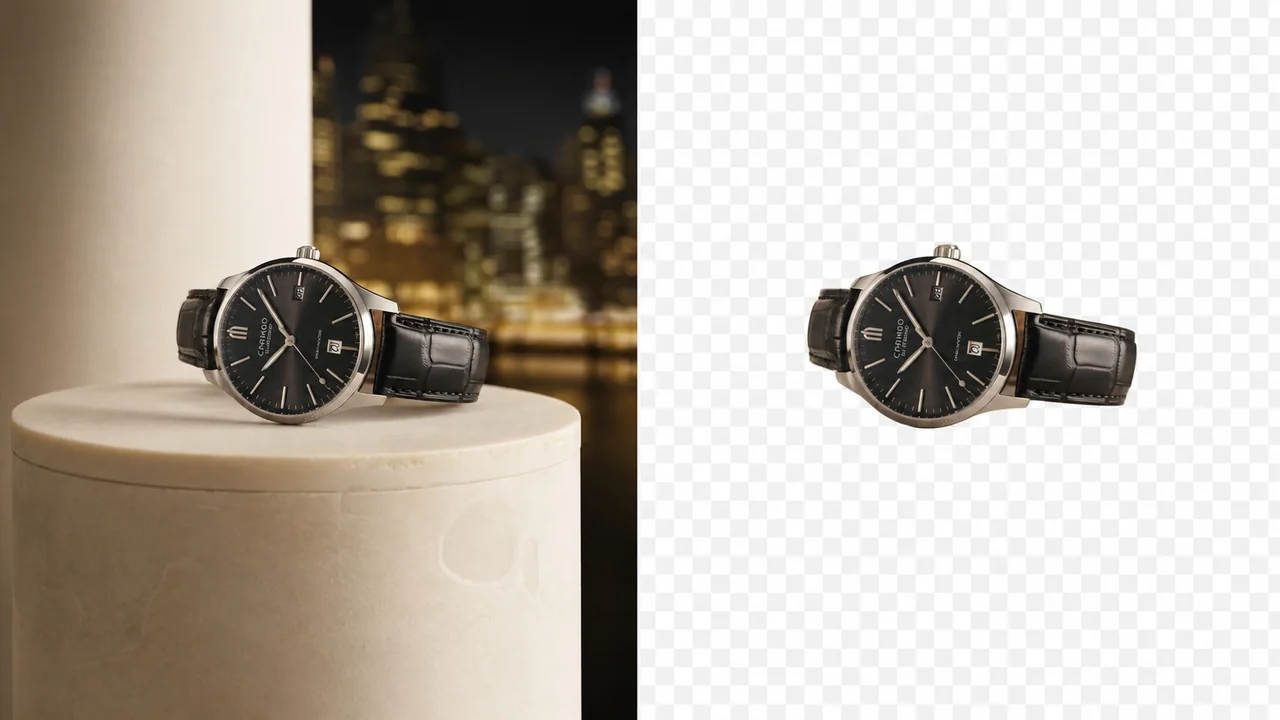
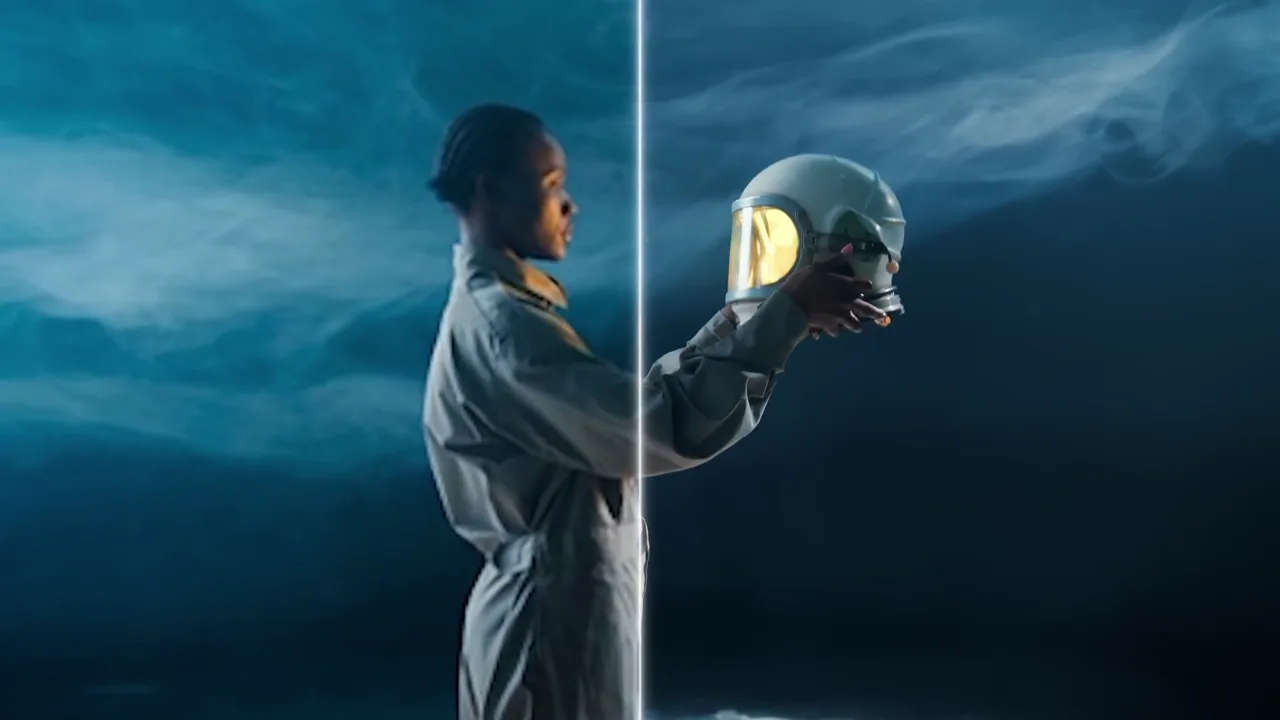

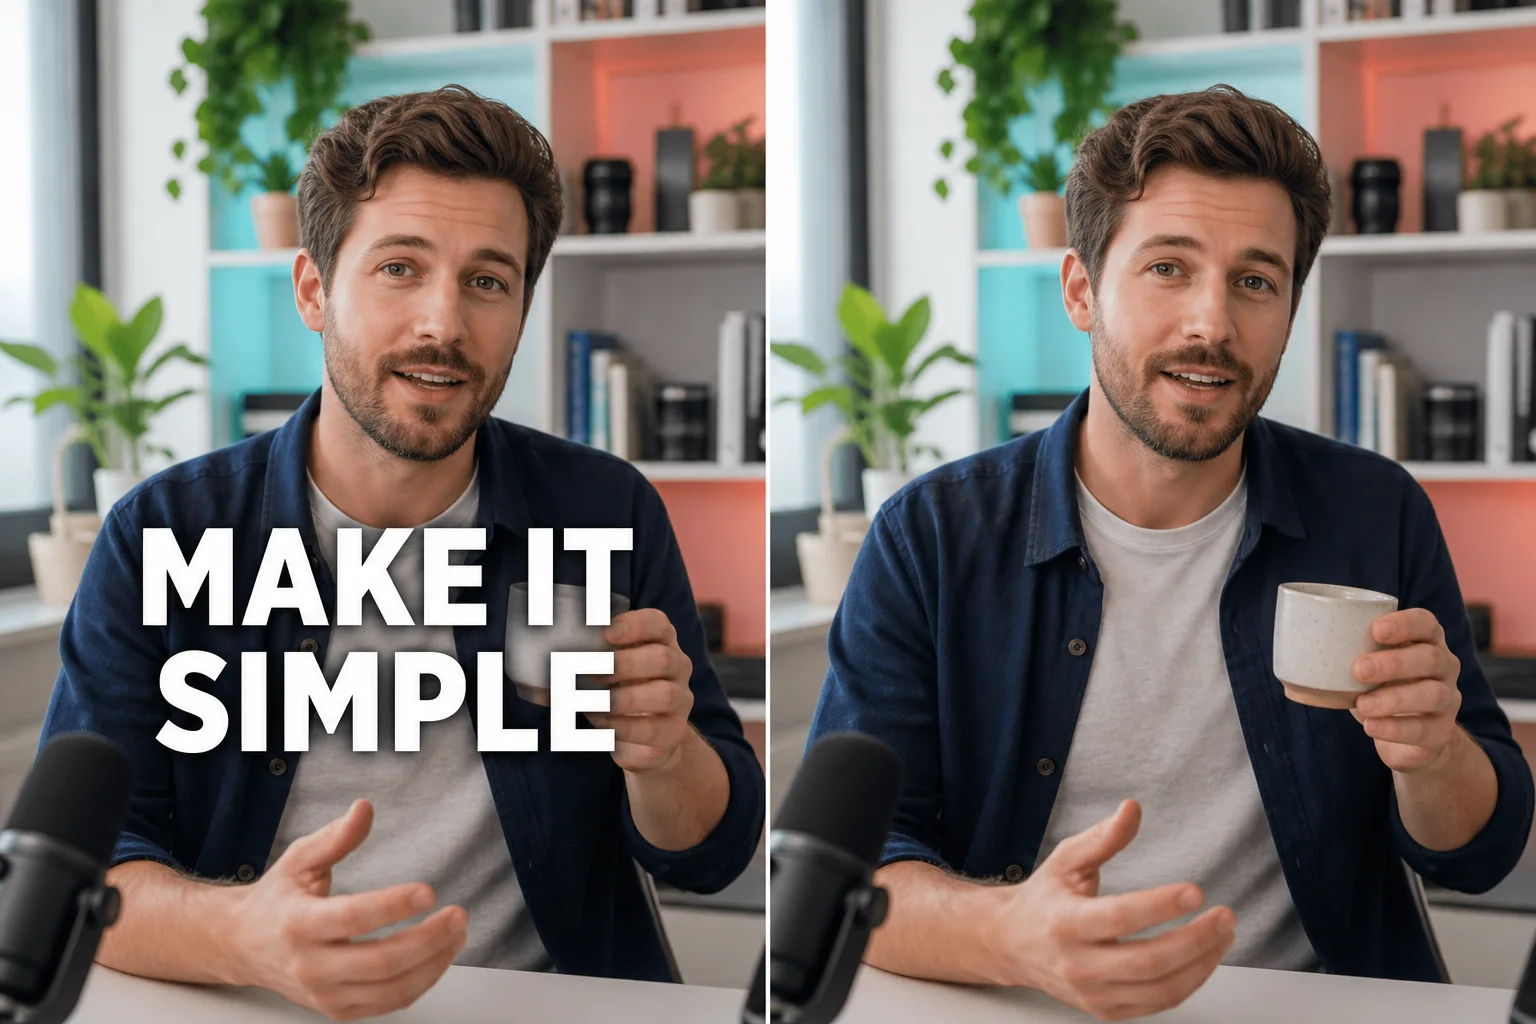
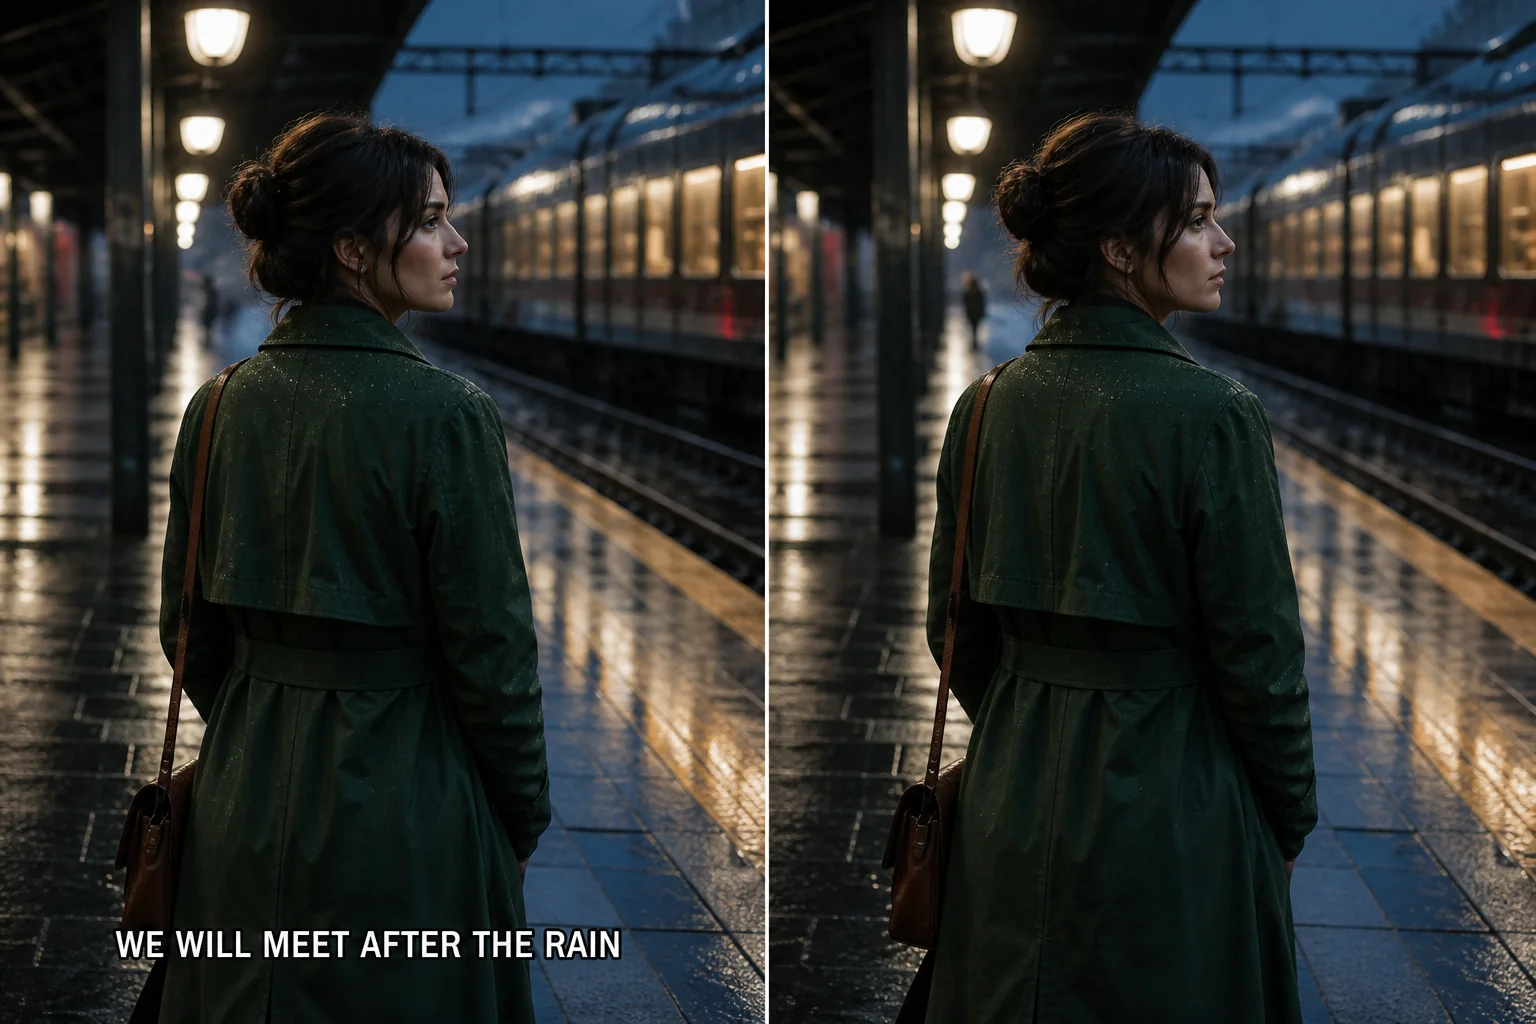
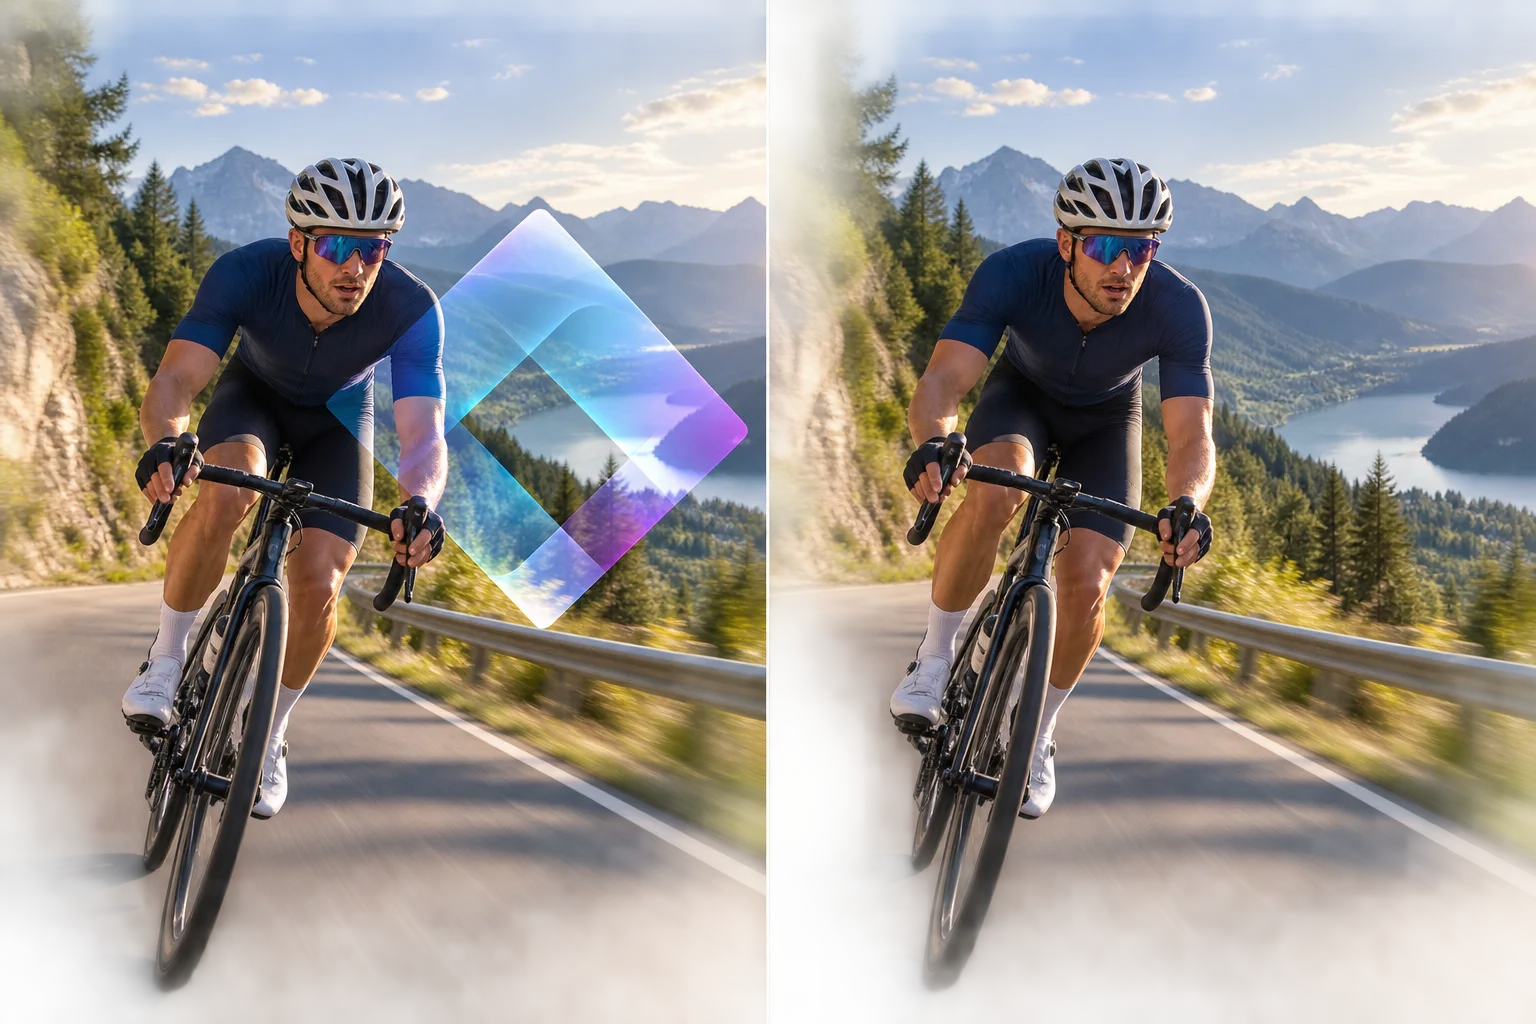
Remove Logo From Video for Free

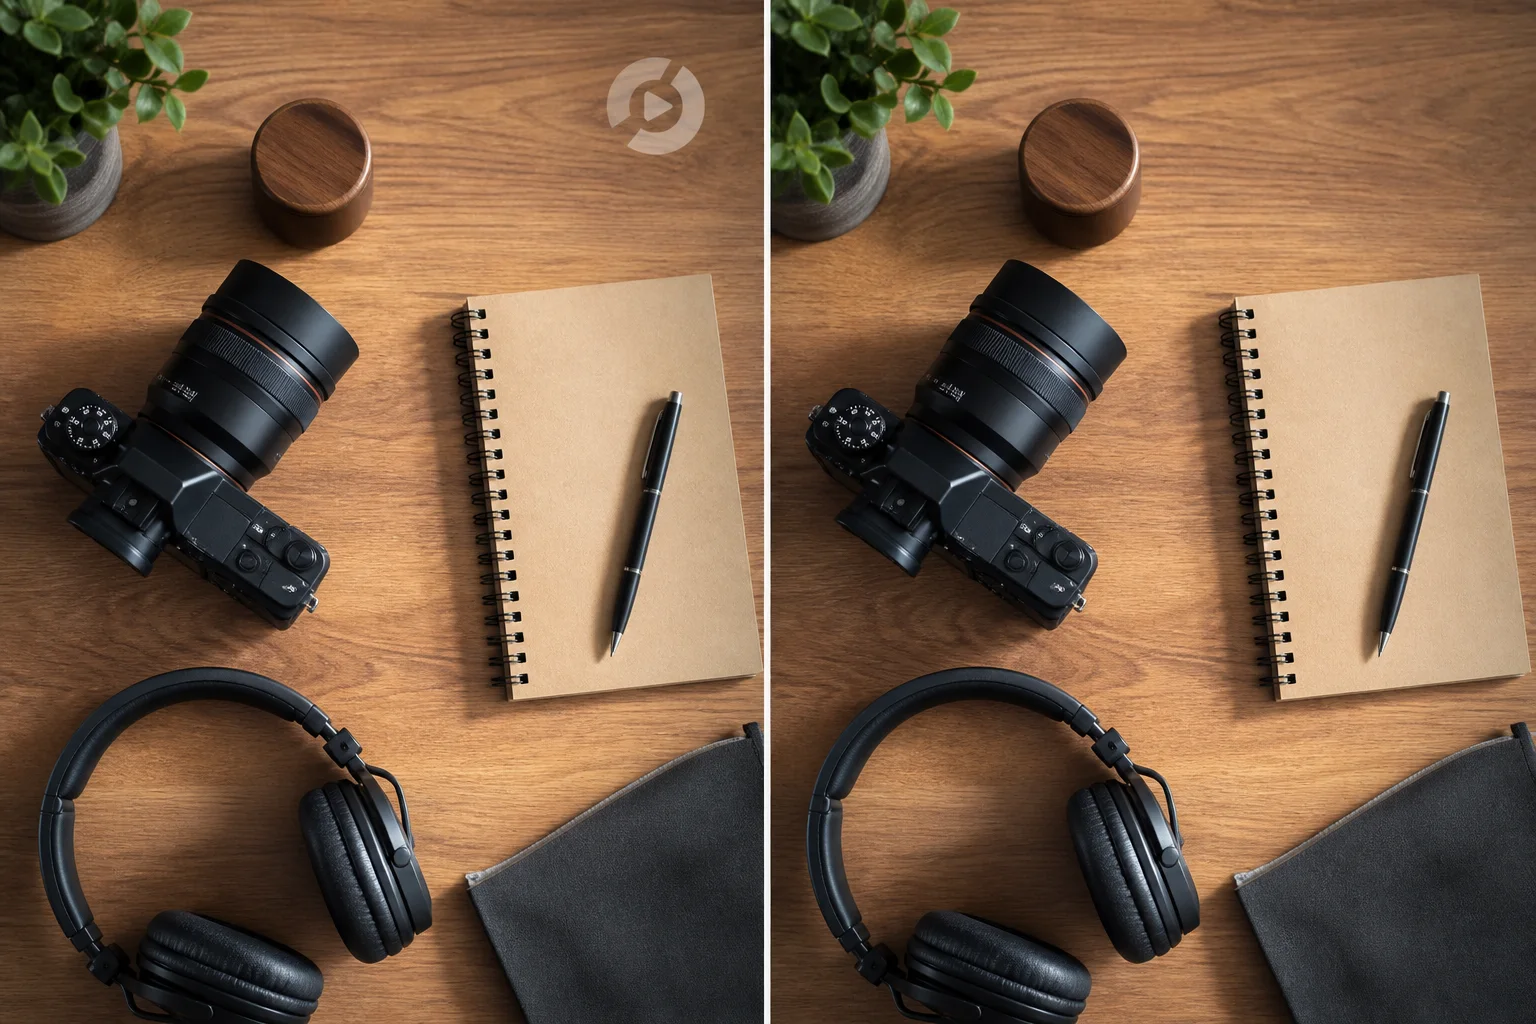
Remove logo from video with a free no-login preview. Mark the logo area, compare motion, and review the result before choosing a full-video export.

Drag and drop a video here, or choose a file to open the editor.

MP4MOVAVIMKVWEBM

Maximum file size: 100MB

Choose a Logo Cleanup Test That Reveals Motion

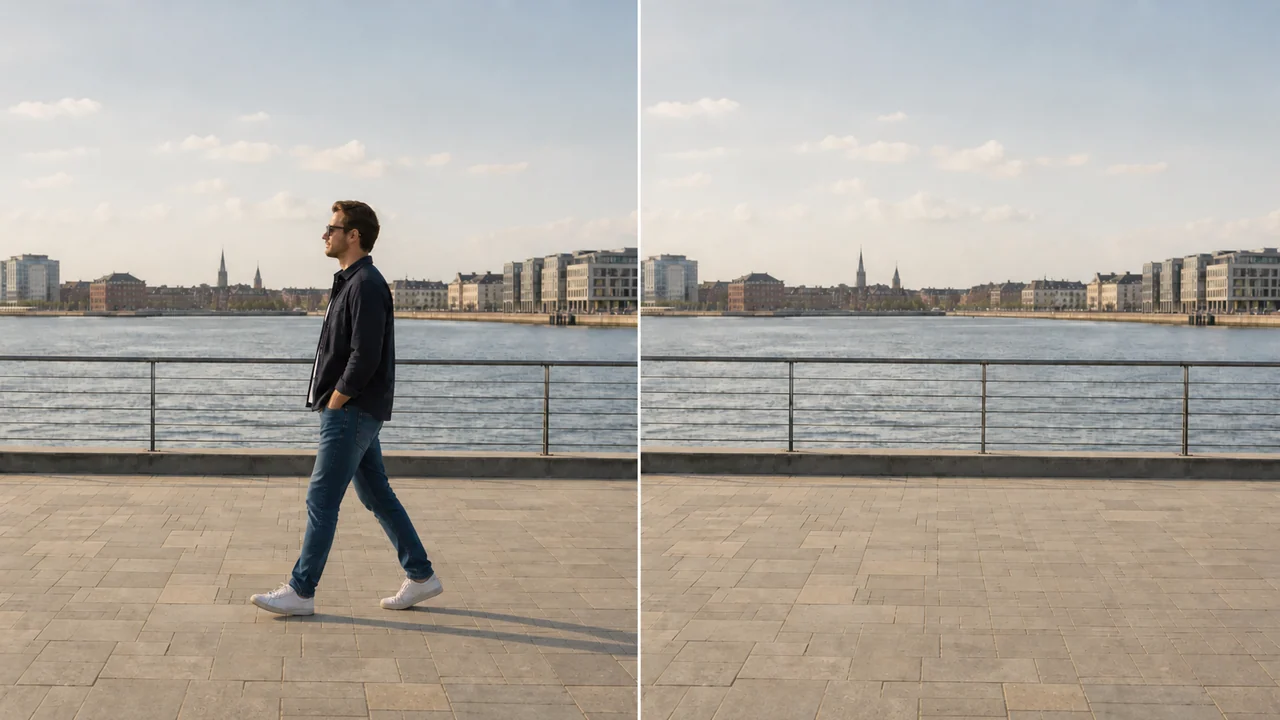
Start with the moment where the mark meets the busiest background. A useful preview shows whether the repair remains believable while the scene changes.

Keep the Full Frame While Cleaning a Fixed Mark

Use a tight selection when you need to remove logo from video footage without cropping products, faces, or intentional composition. Test several background changes inside the same corner. A focused remove pass should preserve nearby edges and color instead of turning a small graphic into a large soft patch.

Protect Labels, Cursors, and Interface Detail

Protect Labels, Cursors, and Interface Detail

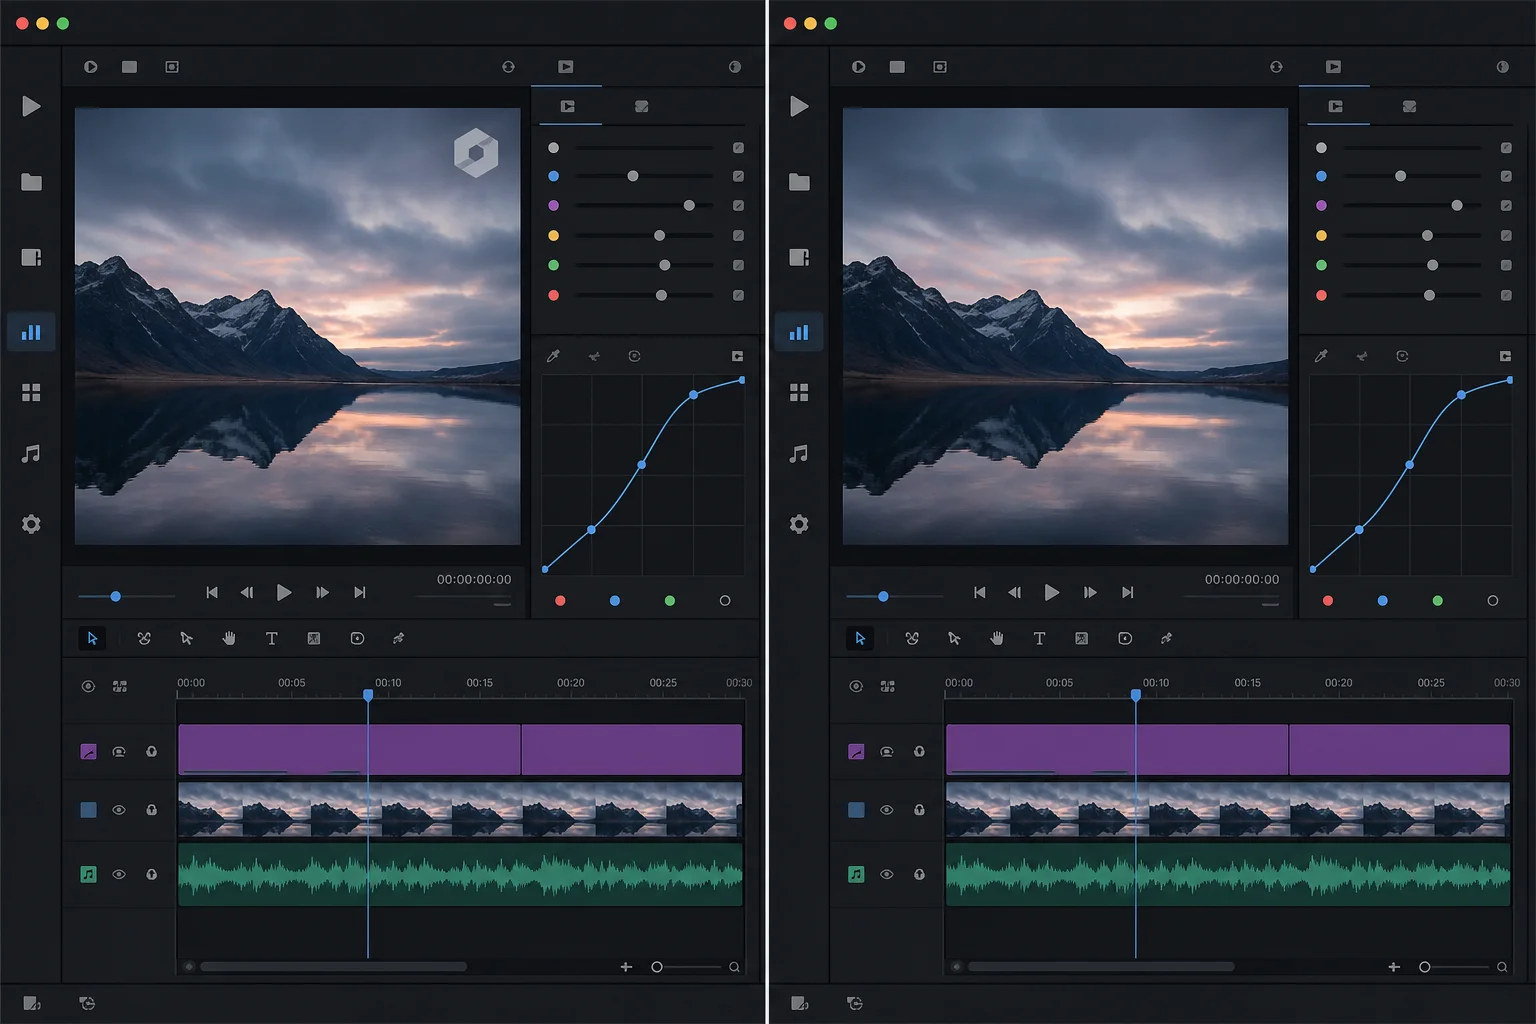
A screen-recording logo can sit beside small text or controls that must remain readable. Select a representative scroll, transition, or pointer movement before you remove the overlay. Judge the result at normal playback size so the logo remover video test does not hide blur behind a paused zoom.

Follow the Hardest Crossing Before a Long Export

Follow the Hardest Crossing Before a Long Export

When a mark moves or a subject passes behind it, test the complete crossing. The logo remover from video workflow should remove the distraction without leaving a trail, frozen texture, or repeated pattern. Compare identical timestamps and refine the mask before choosing a longer result.

Control the Marked Area and Review the Repair

The existing editor connects selection, processing, comparison, and download so each remove decision can be checked against the source.

Paint a Deliberate Selection

Manual Paint lets you remove only the marked region. Cover the full graphic, including soft shadows and transparent edges, while avoiding nearby subjects. A smaller accurate mask gives the repair more useful surrounding detail and makes it easier to identify whether a changed pixel belongs to the intended remove area.

Compare Manual and Automatic Modes

Auto Remove can be a practical first test when the overlay is visually distinct. Run a representative section, then compare it with a manual selection. Keep the method that removes the mark with fewer changes to texture, lettering, faces, or motion rather than assuming one mode fits every source.

Inspect Motion Instead of One Frame

A paused result can conceal shimmer and drifting edges. Play the candidate at normal speed, then revisit cuts, camera movement, reflections, and objects crossing the selected area. The remove pass is useful only when the reconstructed region follows the scene instead of behaving like a pasted still image.

Keep the Source Available for Comparison

Use matching timestamps when evaluating the source and processed version. Look beyond the former mark and inspect grain, gradients, skin, product labels, and fine patterns. A logo remover from video result should reduce distraction without making the surrounding scene less trustworthy than the original.

Work With the Formats Shown in the Editor

The upload control accepts MP4, MOV, AVI, MKV, and WebM within its displayed limits. Start with the least-compressed authorized source available. Extra exports remove useful picture evidence, so avoid converting repeatedly before the cleanup pass unless browser playback requires a compatible copy.

Approve the Entire Downloaded File

Reopen the completed result and inspect its beginning, busiest section, transitions, and ending. Confirm duration, audio synchronization, orientation, and expected resolution. Keep the original beside the new file until the logo remover video output has passed both visual review and the final delivery check.

Four-step review loop

From Source Upload to a Reviewed Cleanup

Use one demanding sample to choose the mask and mode before you remove more footage or request a complete export.

1

Upload a Representative Source

Choose a supported file where the mark is visible and the surrounding scene includes typical motion. Confirm that playback, audio, duration, and orientation are correct before processing. A clean source helps the editor remove the overlay without inheriting avoidable compression or conversion artifacts.

2

Mark the Graphic and Select a Mode

Paint closely around the graphic for Manual Paint, or begin with Auto Remove when detection suits the scene. Include translucent edges but exclude unrelated detail. If the mark changes position, choose the moment with the widest path and use that evidence to refine the remove selection.

3

Play the Free Preview and Compare

Use the available no-login preview on an eligible sample, then play both versions at the same size. Check the repaired boundary during movement and scene changes. A logo remover from video preview is a decision aid, so revise the mask or mode when the result flickers or softens important detail.

4

Choose Full Video Only After Review

Read the displayed sign-in, credit, file, and duration requirements before requesting the complete result. After processing, review every section rather than assuming the preview represents all backgrounds. Download only when the remove treatment remains stable and you are permitted to edit the source.

Remove Logo From Video Questions

Use these answers to prepare the source, choose a selection, evaluate motion, and decide whether the result is ready for delivery.

Test the Hardest Logo Moment First

Return to the editor, choose a representative section, and remove only after the mask and motion review support a cleaner result.