









Free Video Watermark Remover

Use this video watermark remover for a free preview with no login. Clean logos, timestamps, captions, and overlays, then review motion before export.

Drag and drop a video here, or choose a file to open the editor.

MP4MOVAVI

Maximum file size: 100MB

Explore the toolkit

All Tools

Jump straight into a focused workspace for removing distractions, replacing backgrounds, or improving video quality.

Three Watermark Sources a Video Watermark Remover Should Handle

A watermark usually comes from where the video was licensed, edited, or re-shared, and a video watermark remover works better once you know which of those three sources put it there.

Clear a Semi-Transparent Stock Preview Mark

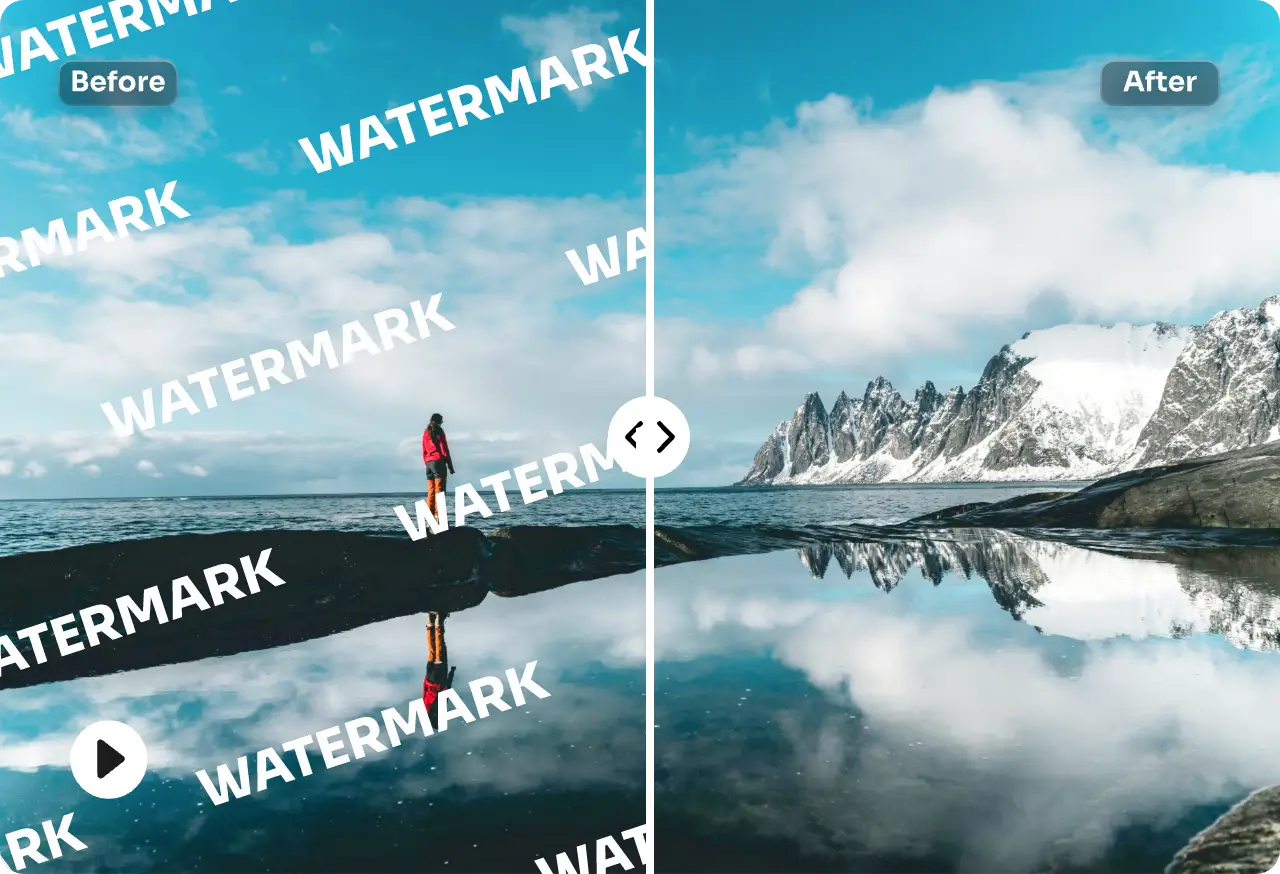
Stock video libraries commonly tile a semi-transparent mark diagonally across the whole preview frame, repeating over faces, motion, and background alike. A video watermark remover needs several passes on this kind of video, not one box, because each repetition sits over different content. Test the busiest video repetition first: if the tool can rebuild detail behind a mark crossing fast motion, the calmer repetitions nearby are usually easier.

Remove a Full-Frame Trial Watermark Band

Remove a Full-Frame Trial Watermark Band

Free and trial versions of video editing software often stamp a wide band or repeating text across the entire export, sized to be hard to crop around without losing the shot. A video watermark remover has to work at that scale rather than one small corner, so budget a longer video preview and check that letters near faces or product labels come back clean instead of just faded.

Handle a Video Re-Exported Across Several Platforms

Handle a Video Re-Exported Across Several Platforms

A video downloaded, re-uploaded, and downloaded again can pick up more than one platform watermark stacked in slightly different positions. Run the video watermark remover on each mark separately rather than assuming a single mask covers every layer, and compare identical timestamps across a batch of similar video files so a mode that works on one re-export does not silently fail on the next.

Review Watermark Removal Across Every Frame

The remover workspace keeps selection, processing, comparison, and download in one video workflow so you can judge the repaired watermark area before using the result.

Mark the Watermark Area Precisely

Manual Paint gives the remover a focused region instead of changing the whole video. Keep the mask close to the watermark while allowing enough room for soft edges, shadows, and movement. A precise selection helps surrounding video detail remain consistent and makes the final comparison easier to understand.

Try Automatic Removal When It Fits

Auto Remove offers a second path when the watermark can be detected without a painted mask. Treat it as a practical starting point rather than a guaranteed answer. Review the entire video preview and switch remover modes when the automatic result changes important texture or leaves visible overlay fragments.

Preview Motion Before Full Processing

A short preview exposes problems that a still image hides. Play the remover output at normal speed and inspect the watermark boundary during movement, lighting changes, and cuts. This video-first check can reveal flicker, smearing, duplicated patterns, or a repaired area that drifts away from the original mark.

Compare the Source and Remover Result

Use the comparison controls to revisit the same moment in both versions. Check whether the video keeps natural edges, grain, color, and motion after the watermark is removed. The strongest result is not always the smoothest frame; it is the remover output that stays least distracting throughout playback.

Match the Source to Where the Watermark Came From

A stock preview download, a trial-software export, and a re-uploaded platform copy each lose different detail: repeated re-encoding softens fine texture first, a screen capture of a trial export can introduce its own compression on top of the original watermark, and a multi-platform re-upload often carries the lowest bitrate of the chain. Pull the earliest version in that chain whenever it is still available, because every additional hop reduces the detail a video watermark remover has to rebuild from.

Match Your Rights to the Watermark Type

A stock-library preview mark exists specifically to block unlicensed use, so removing it without buying the license is a licensing problem rather than a technical one. A platform-added watermark can be governed by that platform’s terms of service instead of copyright alone. Confirm which situation applies to your footage before publishing a cleaned copy, since a working repair does not settle the underlying permission question.

Four-stage workflow

From Watermark Selection to Reviewed Video

Use the video watermark remover as a review loop: prepare a suitable source, identify the overlay, inspect a processed sample, and approve the complete result only when motion stays convincing.

1

Upload the Best Available Video

Choose a supported file that plays correctly and preserves as much original quality as possible. Confirm that the watermark is visible during the section you intend to test. Avoid an unnecessarily compressed video when a cleaner source exists, because the remover needs nearby texture and motion to rebuild the marked area convincingly.

2

Select the Watermark and Removal Mode

For Manual Paint, mark the overlay without covering unrelated subjects. For Auto Remove, let the remover begin without a mask and evaluate what it detects. If the watermark repeats, tiles, or stacks in more than one position, test the hardest instance first and refine the selection before requesting a longer video result.

3

Play and Compare the Preview

Watch the processed video at normal speed, then compare the same timestamps with the source. Look around the watermark for unstable edges, frozen texture, blur, repeated pixels, or abrupt color changes. Replay cuts and camera moves because a remover result that looks clean on one frame may become obvious a few frames later.

4

Approve and Download the Result

Continue to the full workflow only after the sample meets your quality bar and the displayed requirements suit the file. Review the finished video again before download. Keep both versions, use the remover output only for footage you are allowed to edit, and return to the source if another mask or mode could produce a better watermark repair.

Video Watermark Remover Questions for Real Projects

Use these answers to identify the watermark source, prepare the area, compare motion, and decide whether the remover result is ready to keep.

Clean the Overlay, Then Review the Story

Return to the video watermark remover, identify whether the mark is a stock preview, a trial band, or a re-upload artifact, and keep the new video only when the former watermark area stays natural through motion in the finished video.