





1
Upload the Best Original
Select a JPEG, PNG, or WebP with a clearly visible subject. When you remove background from image files, an uncompressed or higher-resolution original usually preserves more edge information than a repeatedly saved copy.
Try an image background remover to isolate a subject, inspect difficult edges, and export a transparent PNG for products, profiles, and layered designs.
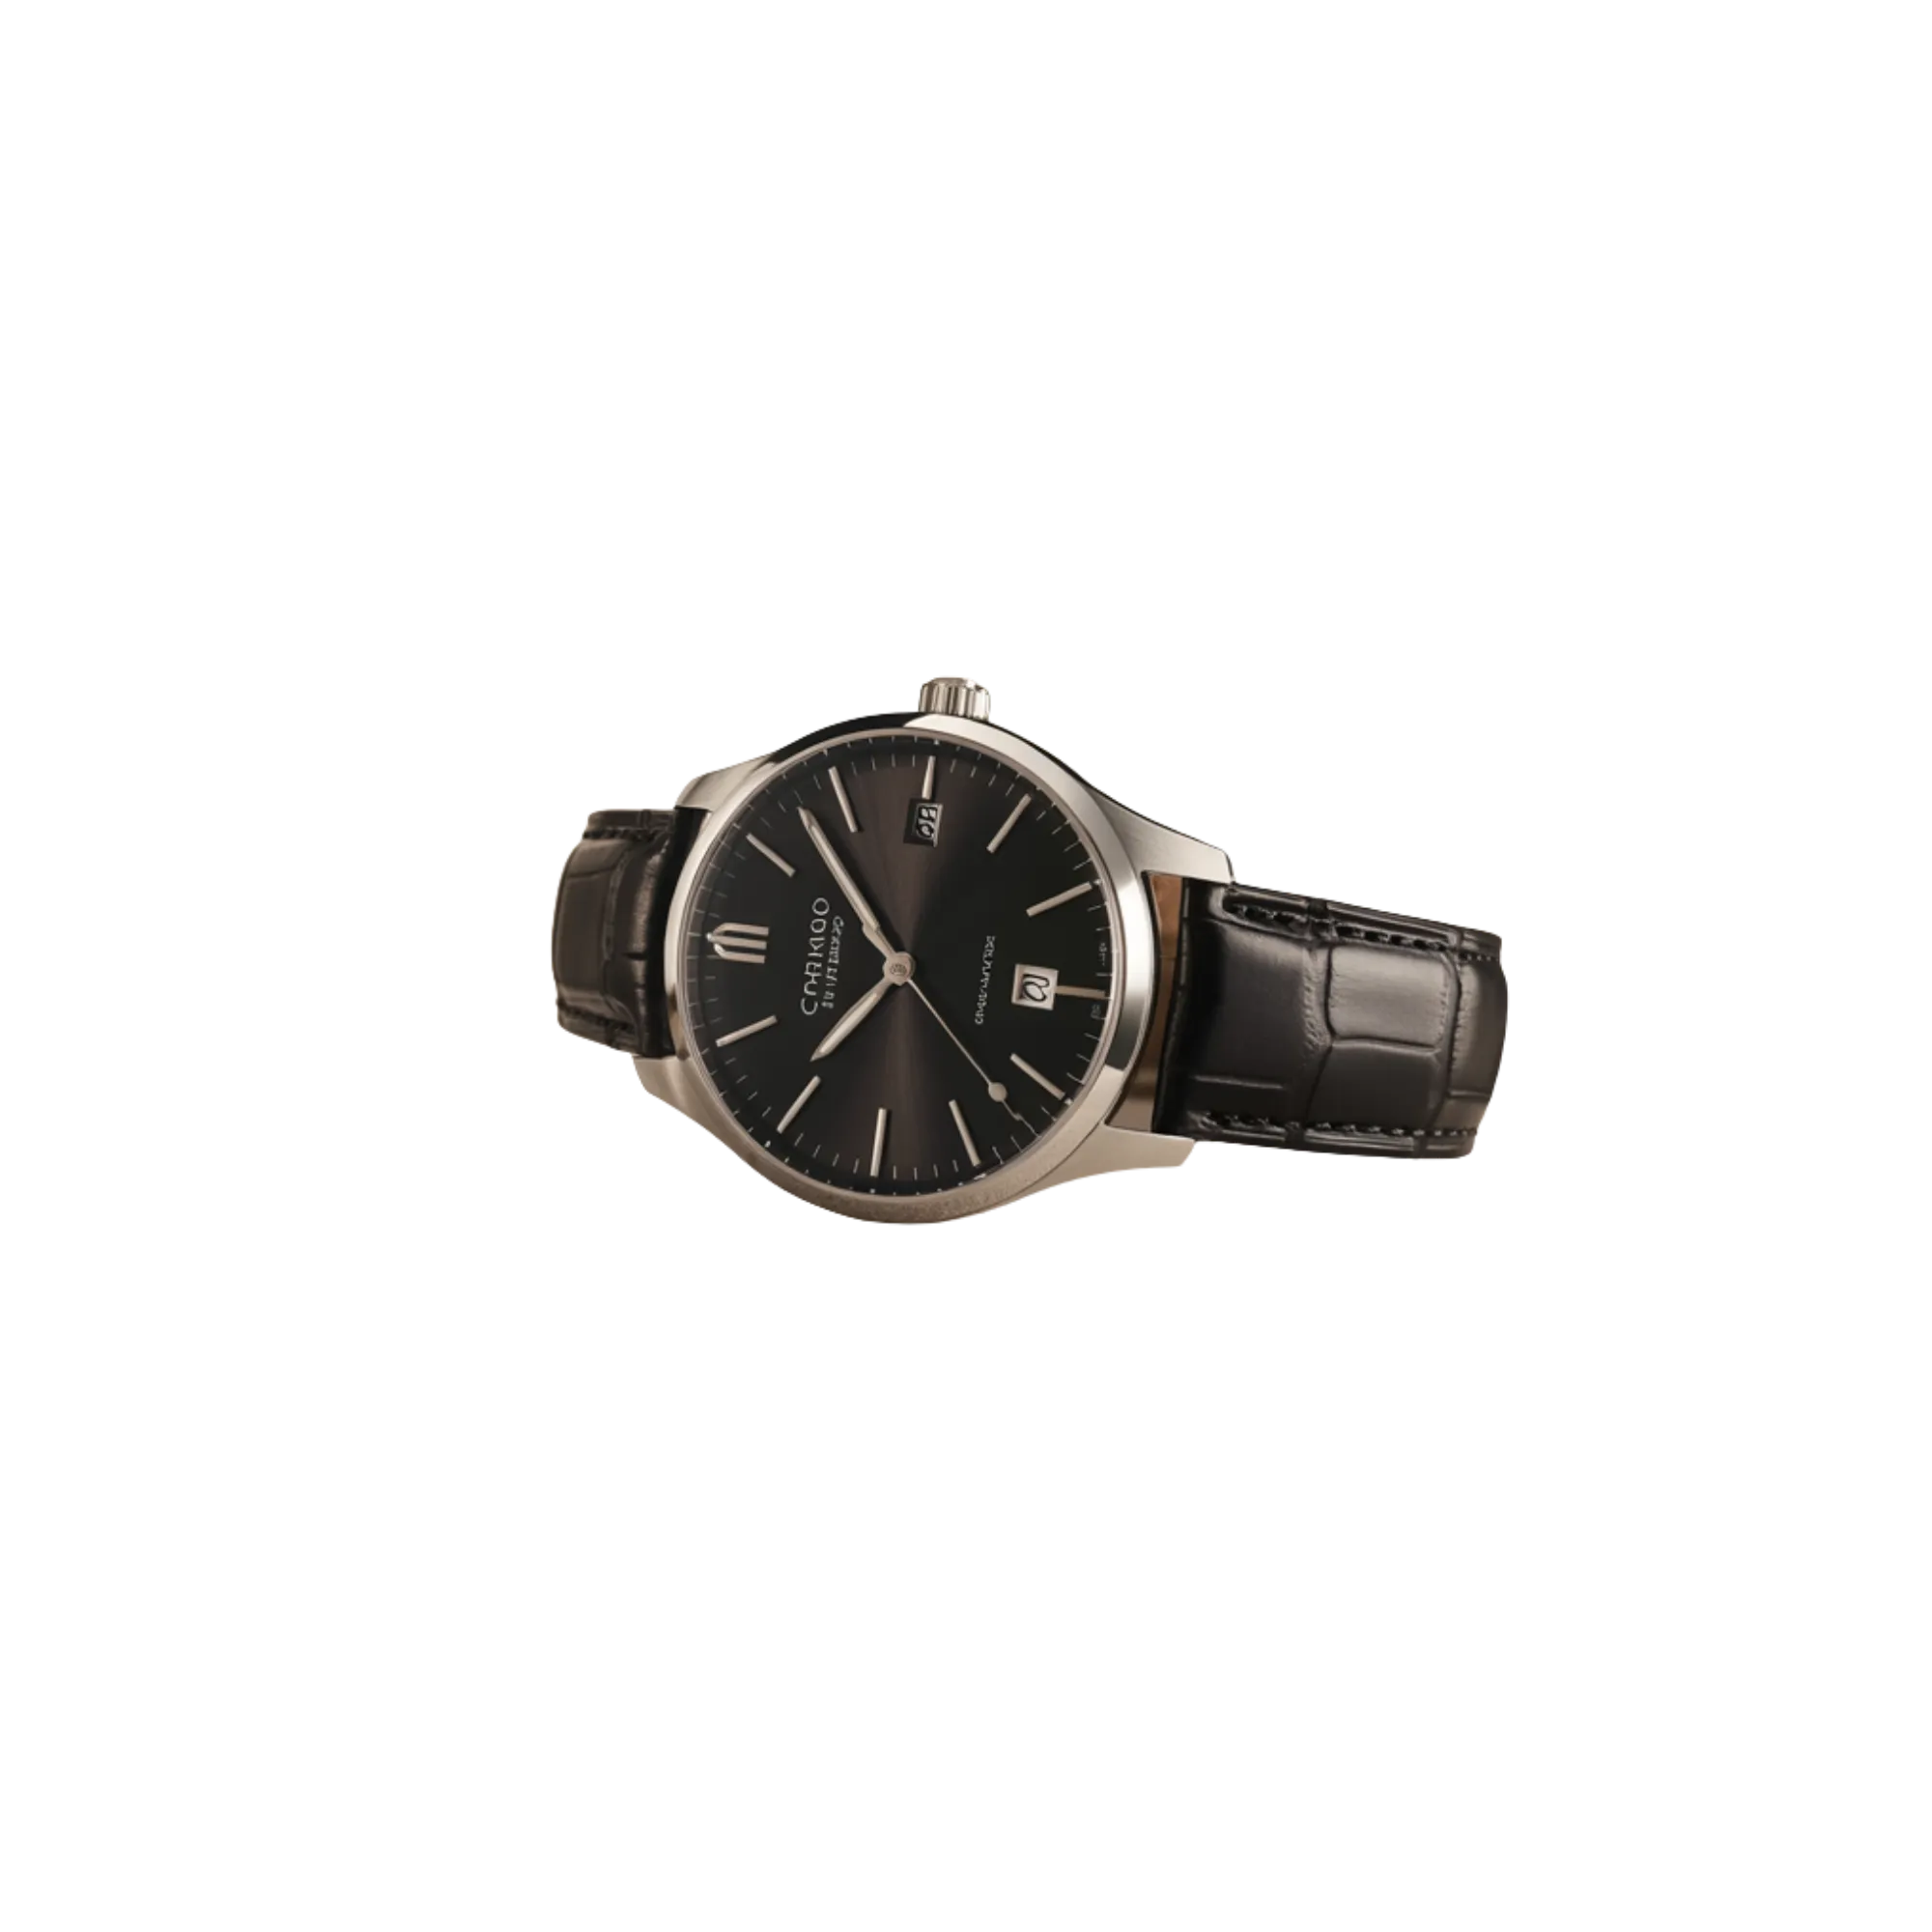

Try the example or upload your own JPEG, PNG, or WebP image.
Explore the toolkit
Jump straight into a focused workspace for removing distractions, replacing backgrounds, or improving video quality.
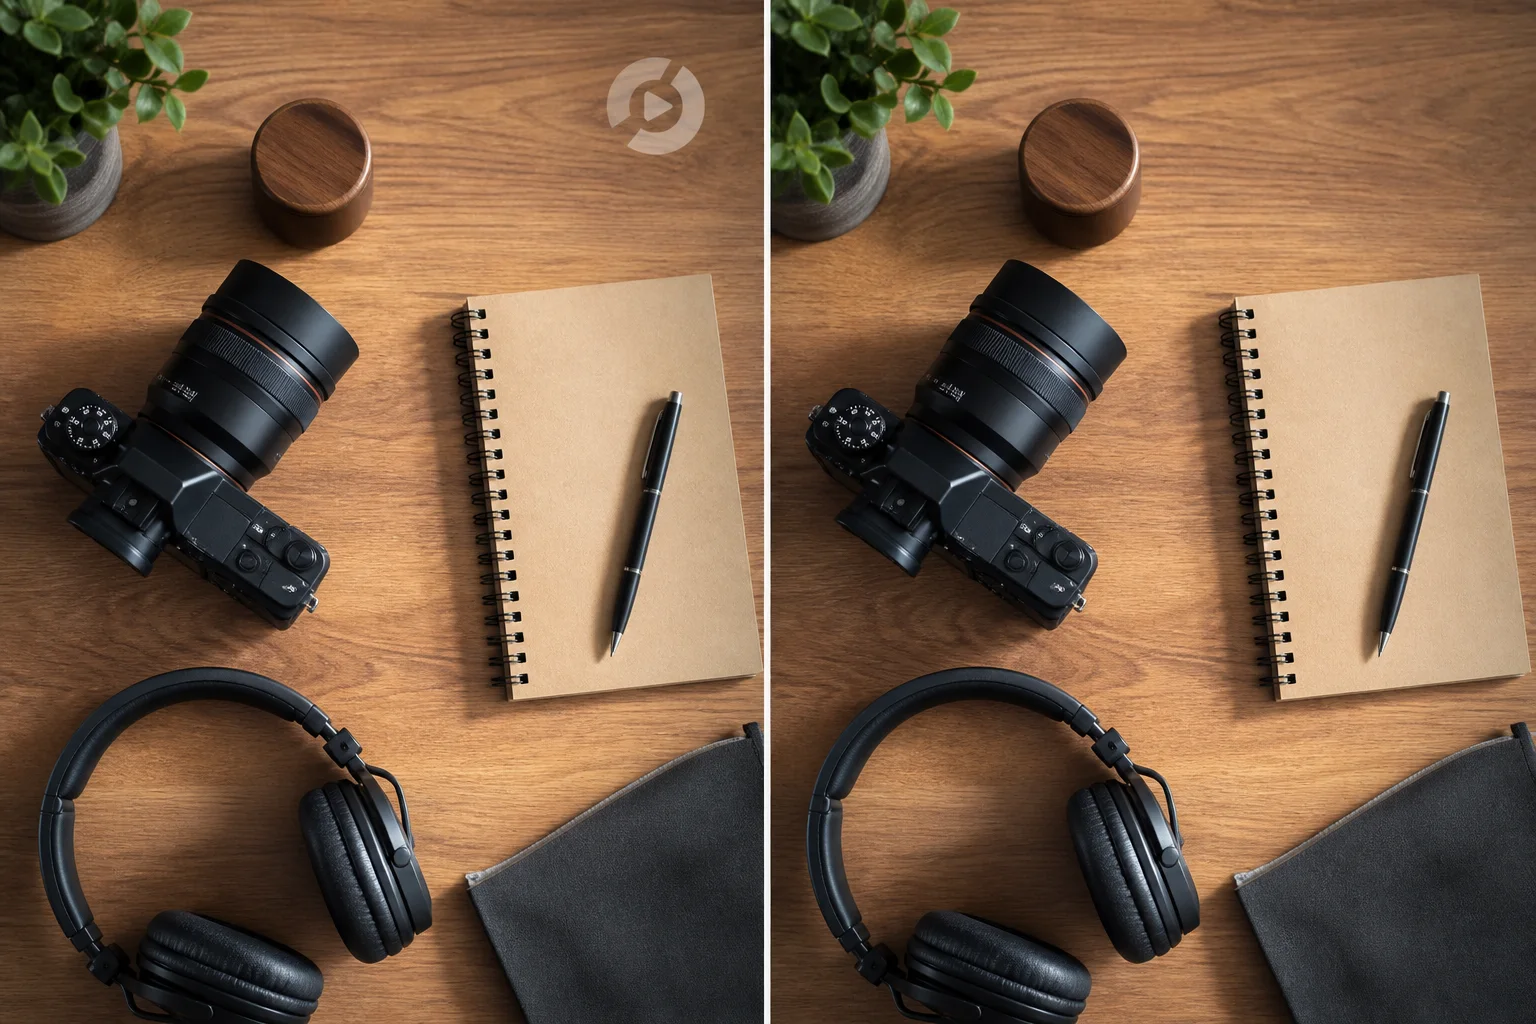
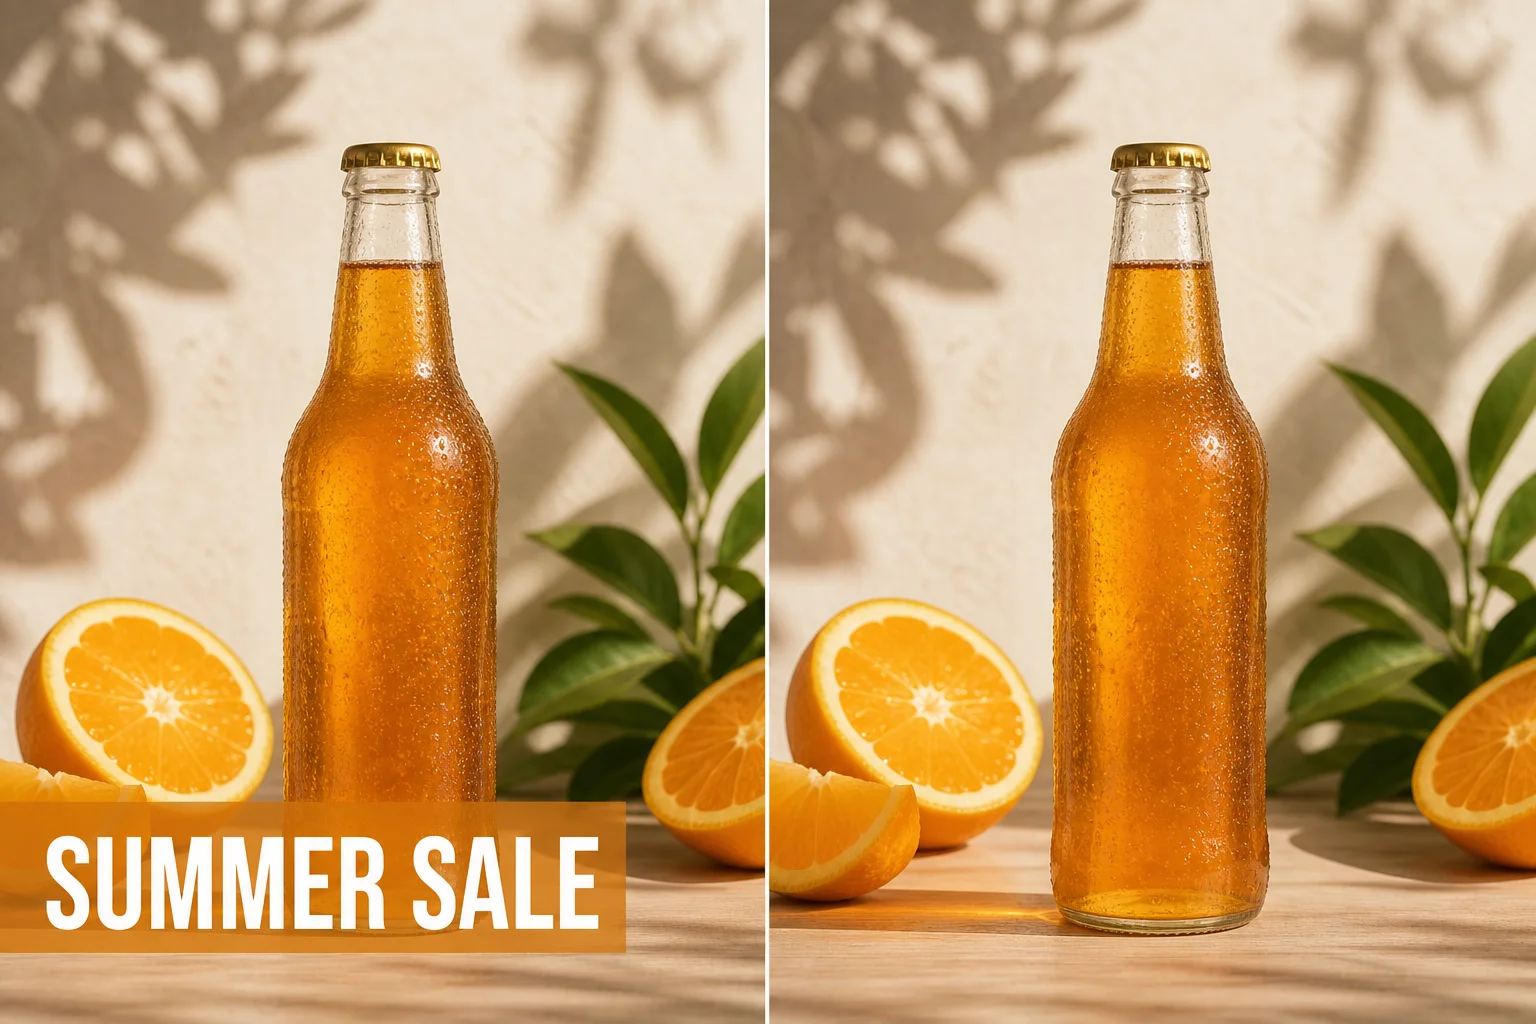
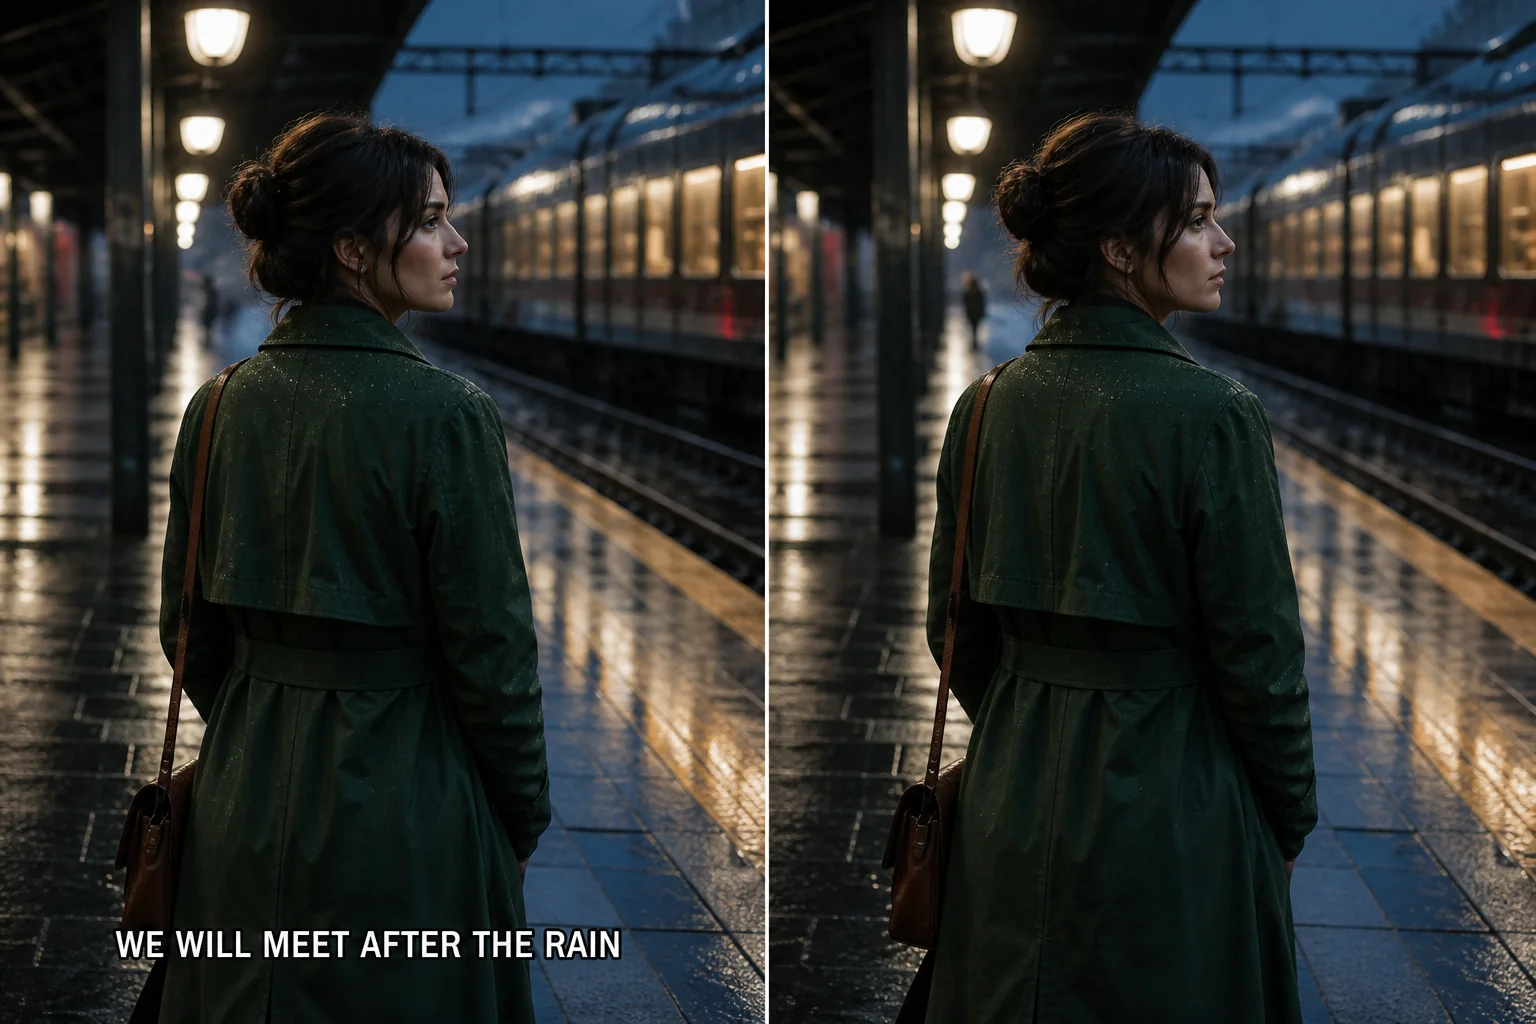
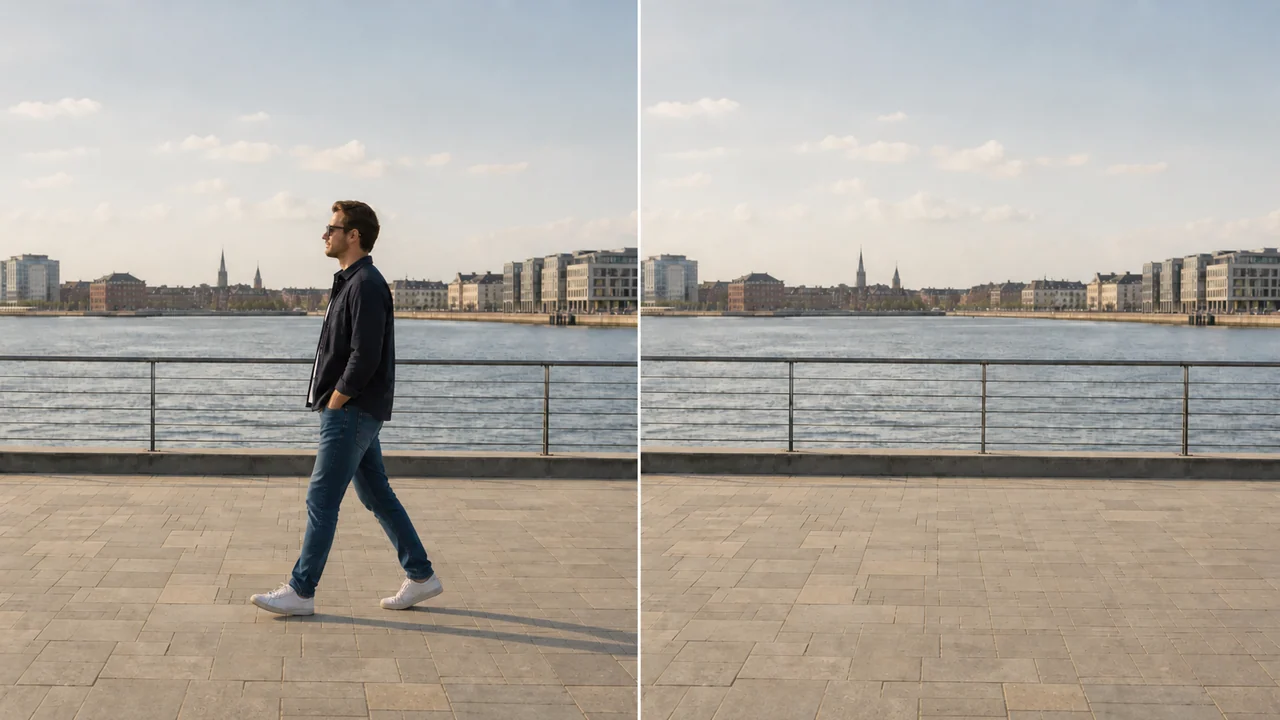
Explore three practical ways to turn a crowded source photo into a flexible visual layer without rebuilding the selection by hand.
A product shot may need to fit sale cards, comparison tables, square listings, and wide banners. Run the image background remover once, then inspect hardware, narrow gaps, and contact shadows before you remove background from image files for a reusable catalog layer. This review can remove background image clutter without flattening the details that make the object recognizable.


Whiskers, loose fibers, bright rim light, and small openings reveal whether a cutout will survive a new layout. The image background remover supplies a useful first mask, but a careful editor should compare several backdrop colors after they remove background from image sources with irregular outlines. That extra check exposes clipped texture and faint color spill before export.


Profile cards, channel covers, speaker slides, and thumbnails often reuse the same portrait at different sizes. An image background remover can separate the person before the design work begins. Review hair, clothing, and soft light carefully, then remove background image remnants so the exported layer remains convincing over bold colors, gradients, and photography.
The image background remover combines a focused upload workspace with a compare-and-download handoff, helping you prepare a transparent asset instead of a one-use flattened picture.
Choose the clearest original available before you remove background from image files. Resolution and contrast give the separation pass more information around fingers, fabric, product corners, and interior gaps.
The image background remover identifies the dominant subject and creates an initial cutout without requiring a hand-drawn path. It is a fast starting point that still leaves room for a deliberate visual check.
Compare the original with the processed preview at normal size and close zoom. Look for halos, missing strands, leftover islands, and places where the source color remains attached to the subject.
Download a transparent PNG after the boundary looks right. The alpha layer lets another editor place the subject over a solid color, photograph, mockup, presentation, or campaign layout.
Use one approved image background remover result across several dimensions rather than selecting the same subject for every design. Keep the source and final PNG together so later reviewers can compare them.
Only remove background image areas from material you own or are allowed to edit. Avoid confidential portraits, identity documents, and unreleased product photography unless your handling policy permits that processing.
A dependable image background remover workflow separates processing from quality control: upload a suitable source, create the cutout, challenge the edge, and only then keep the export.
Select a JPEG, PNG, or WebP with a clearly visible subject. When you remove background from image files, an uncompressed or higher-resolution original usually preserves more edge information than a repeatedly saved copy.
Start the image background remover and wait for the processed preview. Avoid closing the page during the job, and do not assume the first clean-looking thumbnail is ready for every destination.
Inspect pale and dark edges over contrasting colors. Zoom into hair, glass, fingers, shadows, narrow openings, and reflections to remove background image traces that blend into the checkerboard preview.
Save the transparent result, reopen the actual file, and confirm its dimensions, alpha channel, and important details. This final image background remover check prevents a broken or flattened asset from entering the next layout.
Use these answers to choose a source, evaluate the cutout, and decide when an image is ready for another design.
The remover accepts JPEG, PNG, and WebP files within the size limit shown in the workspace. Choose the earliest, clearest image available before you remove anything. Use the image background remover to remove background from image carefully: the remover protects image detail; another background remover reviews the scene before you remove anything.
Start with a sharp image that has useful contrast around the hair. Let the remover create the first mask, then place the result over both light and dark colors. Judge the image background remover as you remove background from image: the remover protects image edges; a second background remover compares the scene before you remove anything.
A transparent PNG keeps the foreground image separate from a fixed scene. After you remove the original setting, you can reuse the same subject in product cards, slides, thumbnails, profiles, and mockups. Test the image background remover when you remove background from image: the remover preserves image detail; another background remover inspects the background before you remove anything.
Glass and soft shadows borrow color from the original image, so the remover must separate partially transparent detail rather than a solid edge. Test the result over several colors before you remove the old layer. If necessary, remove a distracting halo while keeping useful reflection detail, or rebuild the shadow in the destination layout. Keep the image background remover ready to remove background from image: the remover checks image edges; a second background remover reviews the background before you remove anything.
You can try, but the remover may interpret compression blocks as subject detail. Compare the processed image with an earlier copy if the edge looks rough. Enlarging the file will not restore missing texture. Use the image background remover to remove background from image carefully: the remover protects image detail; another background remover reviews the background before you remove anything.
Keep the complete product inside the image and avoid blur across labels, handles, and narrow hardware. Before you remove the scene, decide whether contact shadows belong with the product. Judge the image background remover as you remove background from image: the remover protects image edges; a second background remover compares the background before you remove anything.
Similar colors give the remover fewer visual clues about where the subject ends. Try another image with stronger contrast when one is available. Otherwise, remove the scene and inspect the boundary over an opposite color. Test the image background remover when you remove background image: the remover preserves image detail; another background remover inspects the background before you remove anything.
Open the downloaded image rather than relying only on the preview. Confirm its dimensions and transparency, then compare the entire edge with the source. Remove leftover islands, but do not remove fingers, hair, product openings, or intentional shadows. Keep the image background remover ready to remove background image: the remover checks image edges; a second background remover reviews the background before you remove anything.
Simple enlargement makes an image bigger but cannot recover missing edges or texture. Return to the camera export or design master before asking the remover to separate the subject. Use the image background remover to remove background image carefully: the remover protects image detail; another background remover reviews the background before you remove anything.
Confirm that you may upload and edit the image before processing it. Permission to publish a finished design may not allow another service to handle the source. Do not remove ownership marks or confidential context without authorization. Judge the image background remover as you remove background image: the remover protects image edges; a second background remover compares the background before you remove anything.
Use source images with similar framing, lighting, and resolution, then apply the same review checklist to every result. Let the remover process each image separately and compare the subjects over one test color. Remove inconsistent edge fragments, remove accidental halos, and keep an approved reference image beside the remaining catalog files. Test the image background remover when you remove background image: the remover preserves image detail; another background remover inspects the background before you remove anything.
Decide whether the shadow identifies the subject or belongs to the old scene. The remover may keep, soften, or remove different parts of a translucent shadow. Keep the image background remover ready to remove background image: the remover checks image edges; a second background remover reviews the background before you remove anything.
Choose a clear source, run the image background remover, and review the transparent result before it becomes part of a product card, portrait layout, presentation, or campaign.